Browse Our Knowledge Base
Virtual Fax Instructions
Overview
A virtual fax allows you to send and receive faxes electronically—without a physical fax machine or phone line. At SIU, virtual faxes are sent and received through email using Microsoft Outlook, making it easy to manage fax communications digitally and securely.
Requesting a Virtual Fax Account
To request a new virtual fax account, submit a Telecommunications Service Request using the steps below:
- Open the Telecommunications Service Request form.
- Select Change, Estimates, Moves, and Disconnects.
- For Type of request, choose New.
- Enter the required contact information.
- For Type of service (item 13):
- Select Other
- Enter Virtual Fax in the text box.
- Review your information, then submit the form.
Important notes:
- Virtual fax numbers must be associated with a departmental account, not an individual SIU account.
- The departmental account must not already have a phone number assigned.
Sending a Virtual Fax
Once your virtual fax account is active, you can send a fax directly from Microsoft Outlook:
1. Open Microsoft Outlook and create a new email message.
2. In the To field, enter the 10-digit fax number followed by @fax.siu.edu
Example: 6184534000@fax.siu.edu
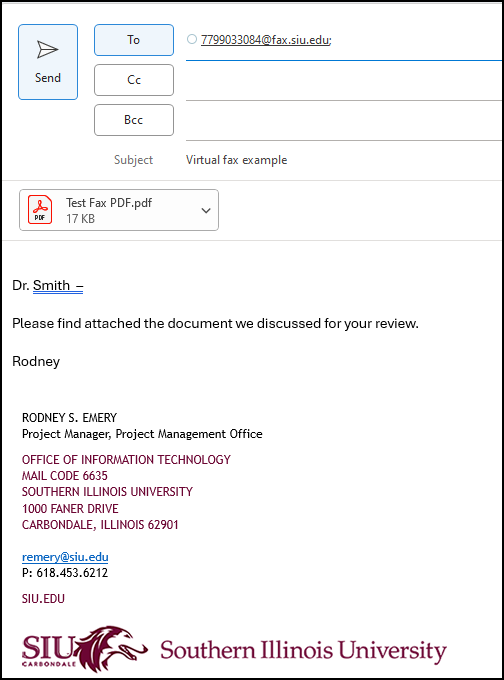
3. Enter the fax subject in the Subject field. This appears on the cover page of the fax.
4. (Optional) Add a short message in the body of the email. This appears on the second page of the fax.
5. Attach any documents you wish to fax. Supported file types include: .doc, .docx, .pdf, .ocr, .html, .rtf, .txt, and .xps
6. Send the email.
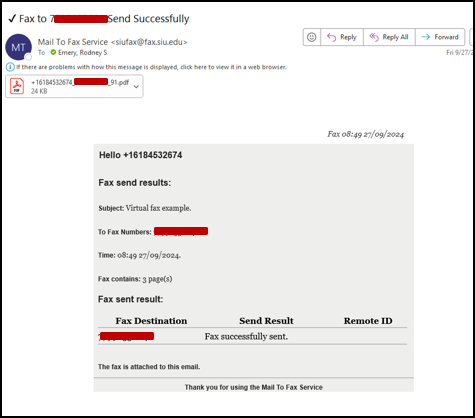
Note: A copy of the sent fax, including any attachments, will remain in your Outlook account for reference.
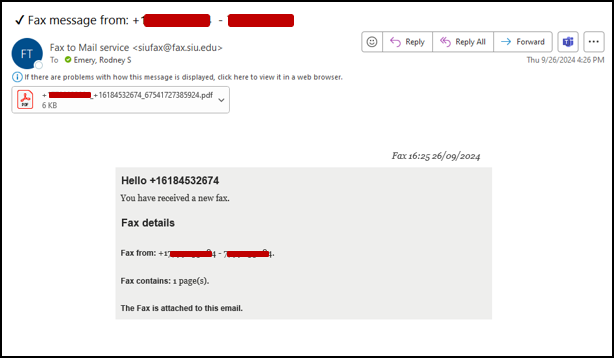
Receiving a Fax
- Provide the sender with your 10-digit fax number. For example: 6184532678.
- When a fax is received, it will appear in your Microsoft Outlook Inbox similar to the example in the screenshot below.