Browse Our Knowledge Base
Install ArcGIS Pro on Your Personal Computer
Overview
Install ArcGIS Pro on your personal computer for either academic or non-academic use. Note well: Academic users and non-academic users have separate ArcGIS Online organizations.
Academic Use
| These instructions apply to academic use: * Academic Research * Academic Teaching and Learning | |
| Uninstall ArcGIS Pro: * Uninstall all previous ArcGIS Pro installations, then restart your computer. | |
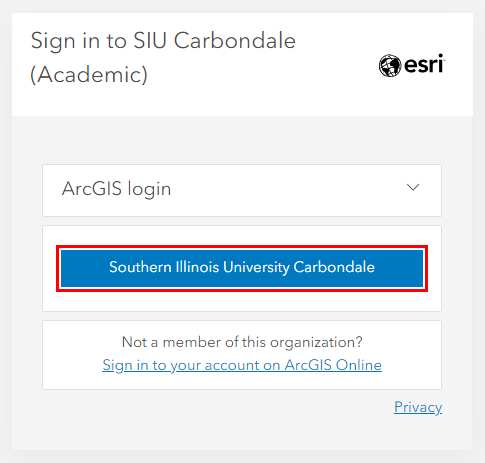 | Sign in ArcGIS Online: * Open https://siucarbondale.maps.arcgis.com/. * Click Southern Illinois University Carbondale. * Sign in with your @siu.edu email address and password. |
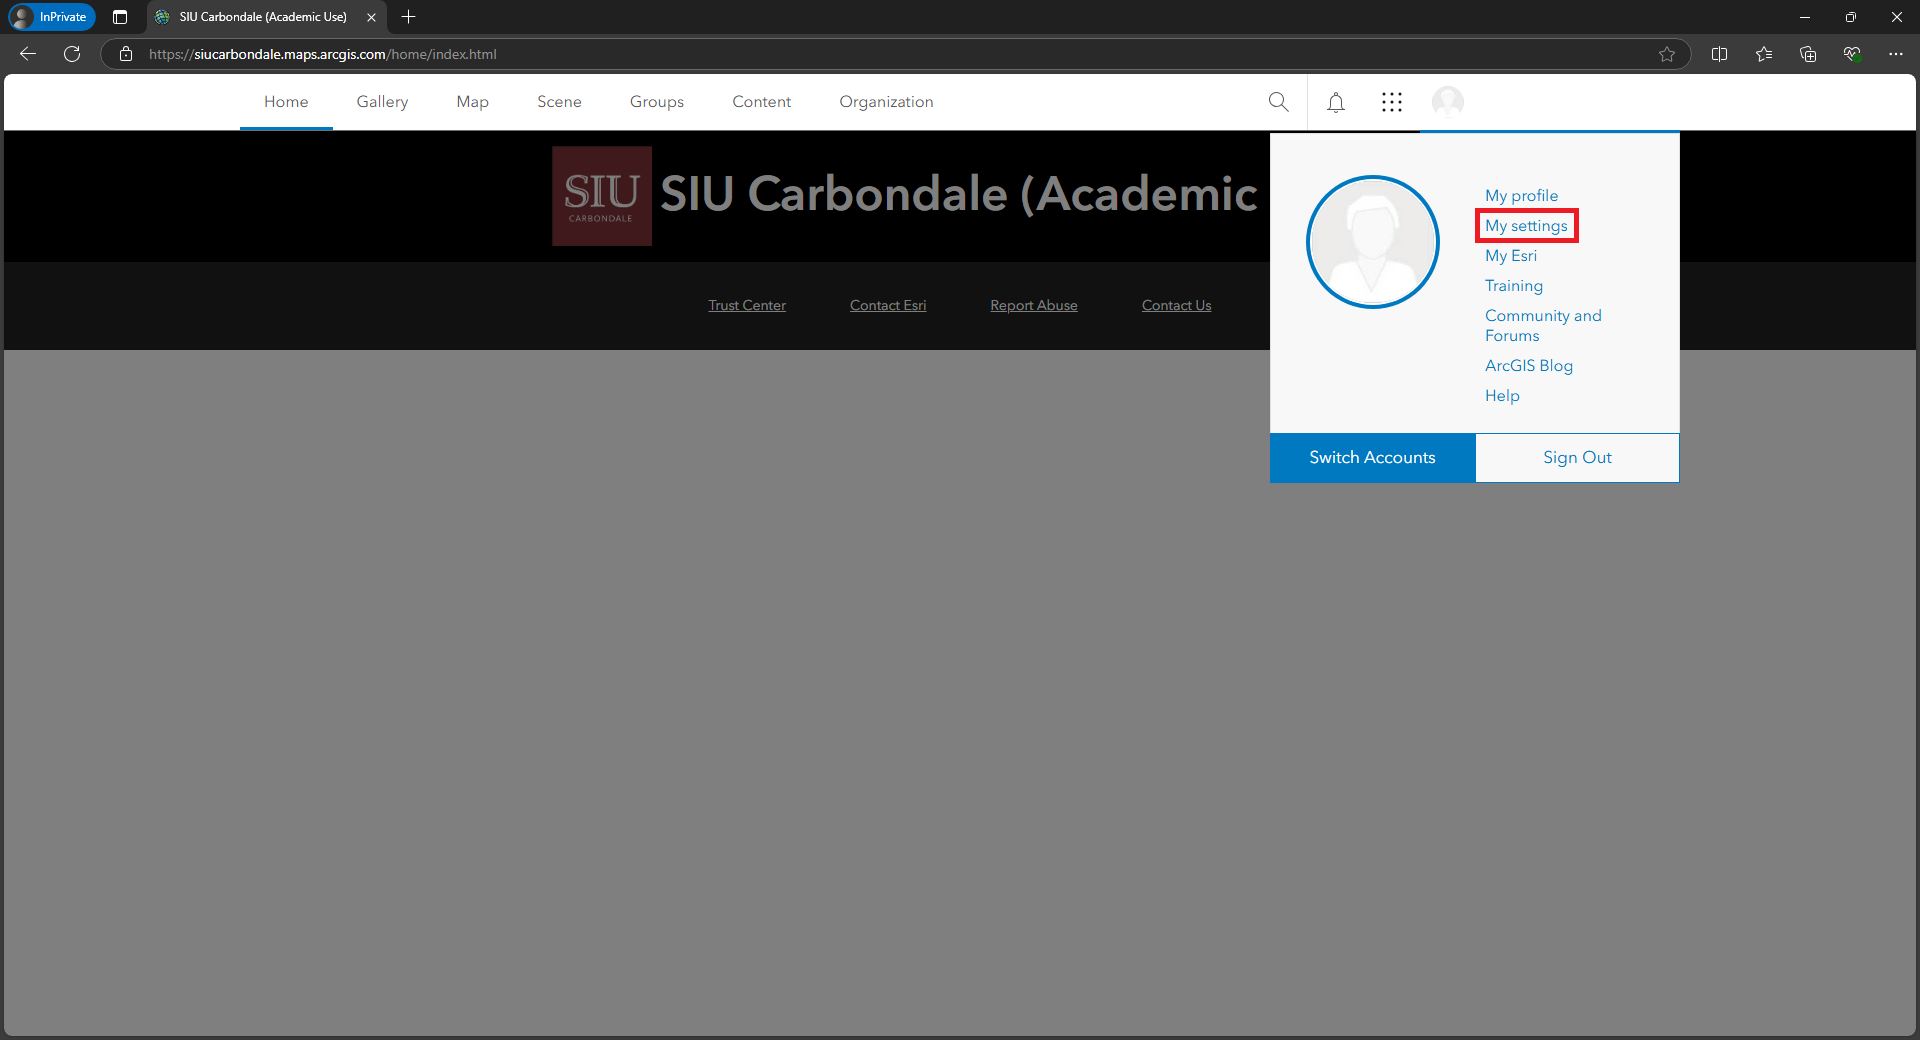 | ArcGIS Online Settings: * Click your username. * Click My settings. |
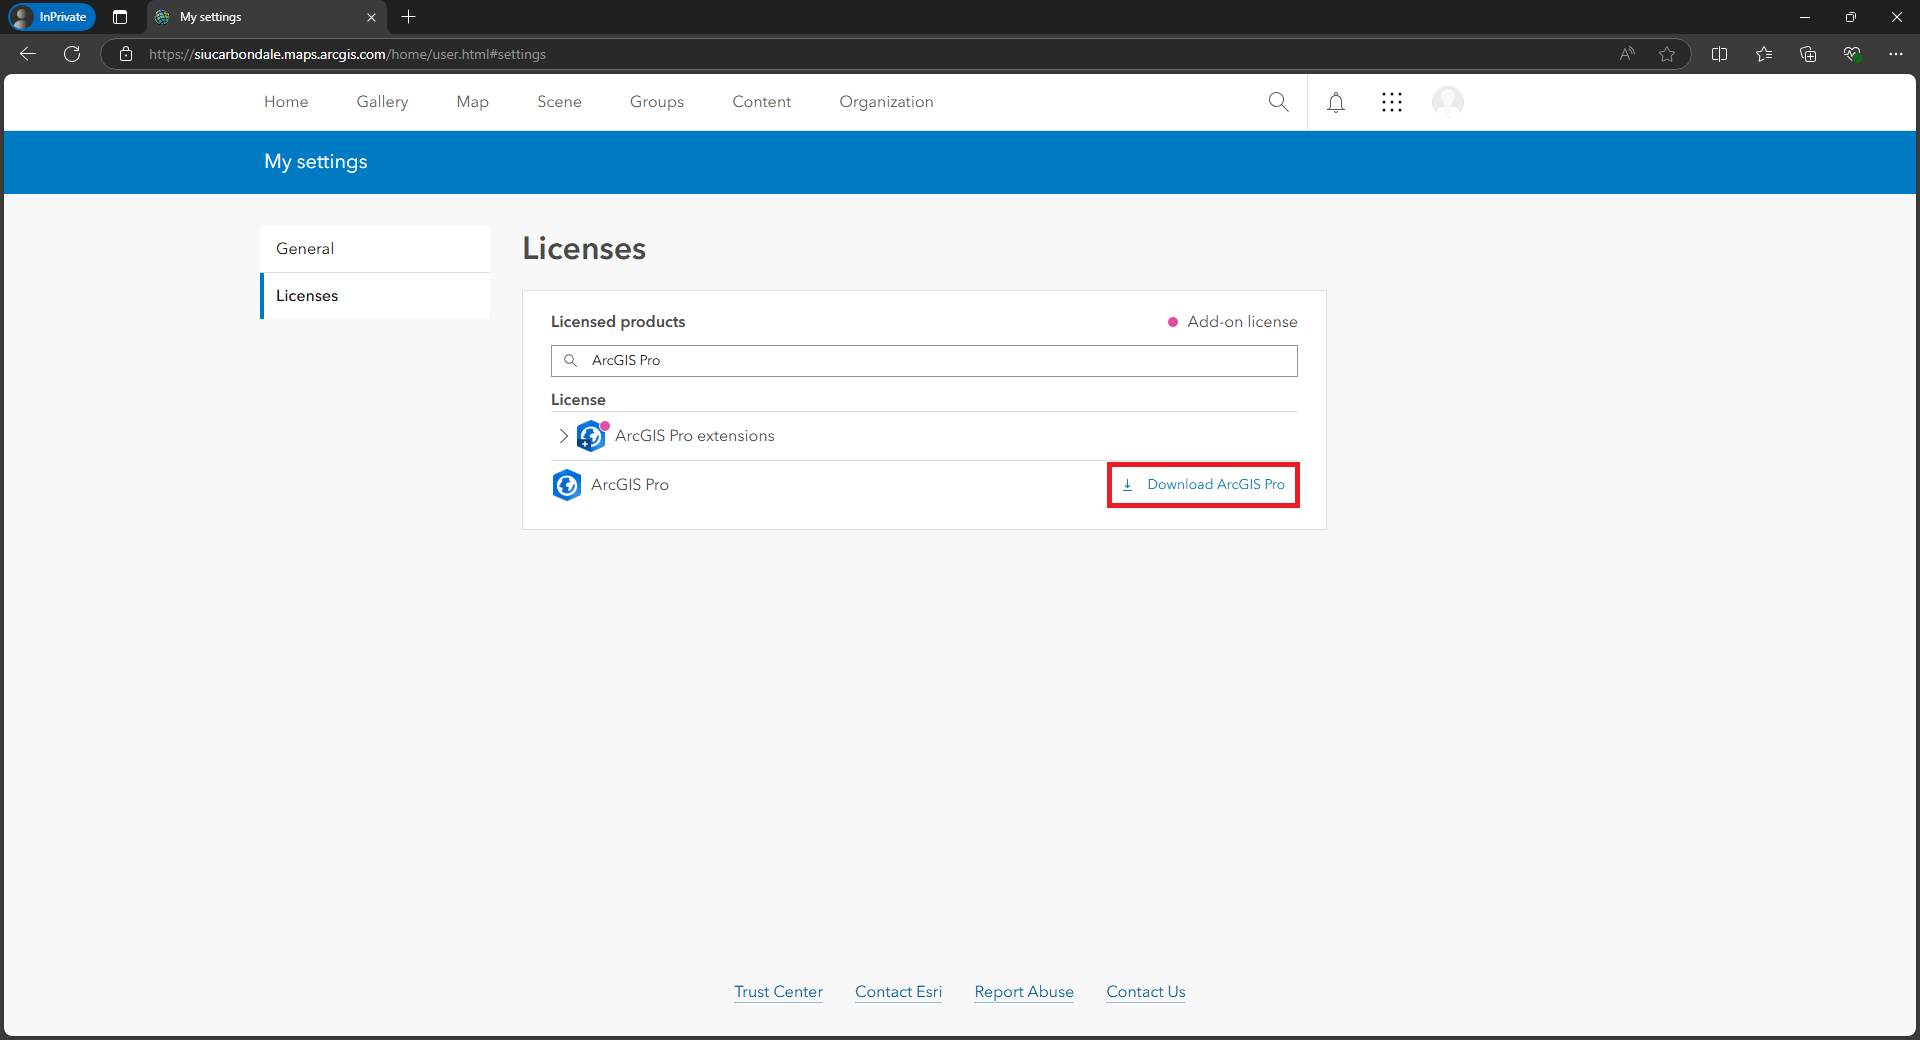 | ArcGIS Online Licenses: * Click the Licenses side tab. * Next to ArcGIS Pro Advanced, click Download ArcGIS Pro. |
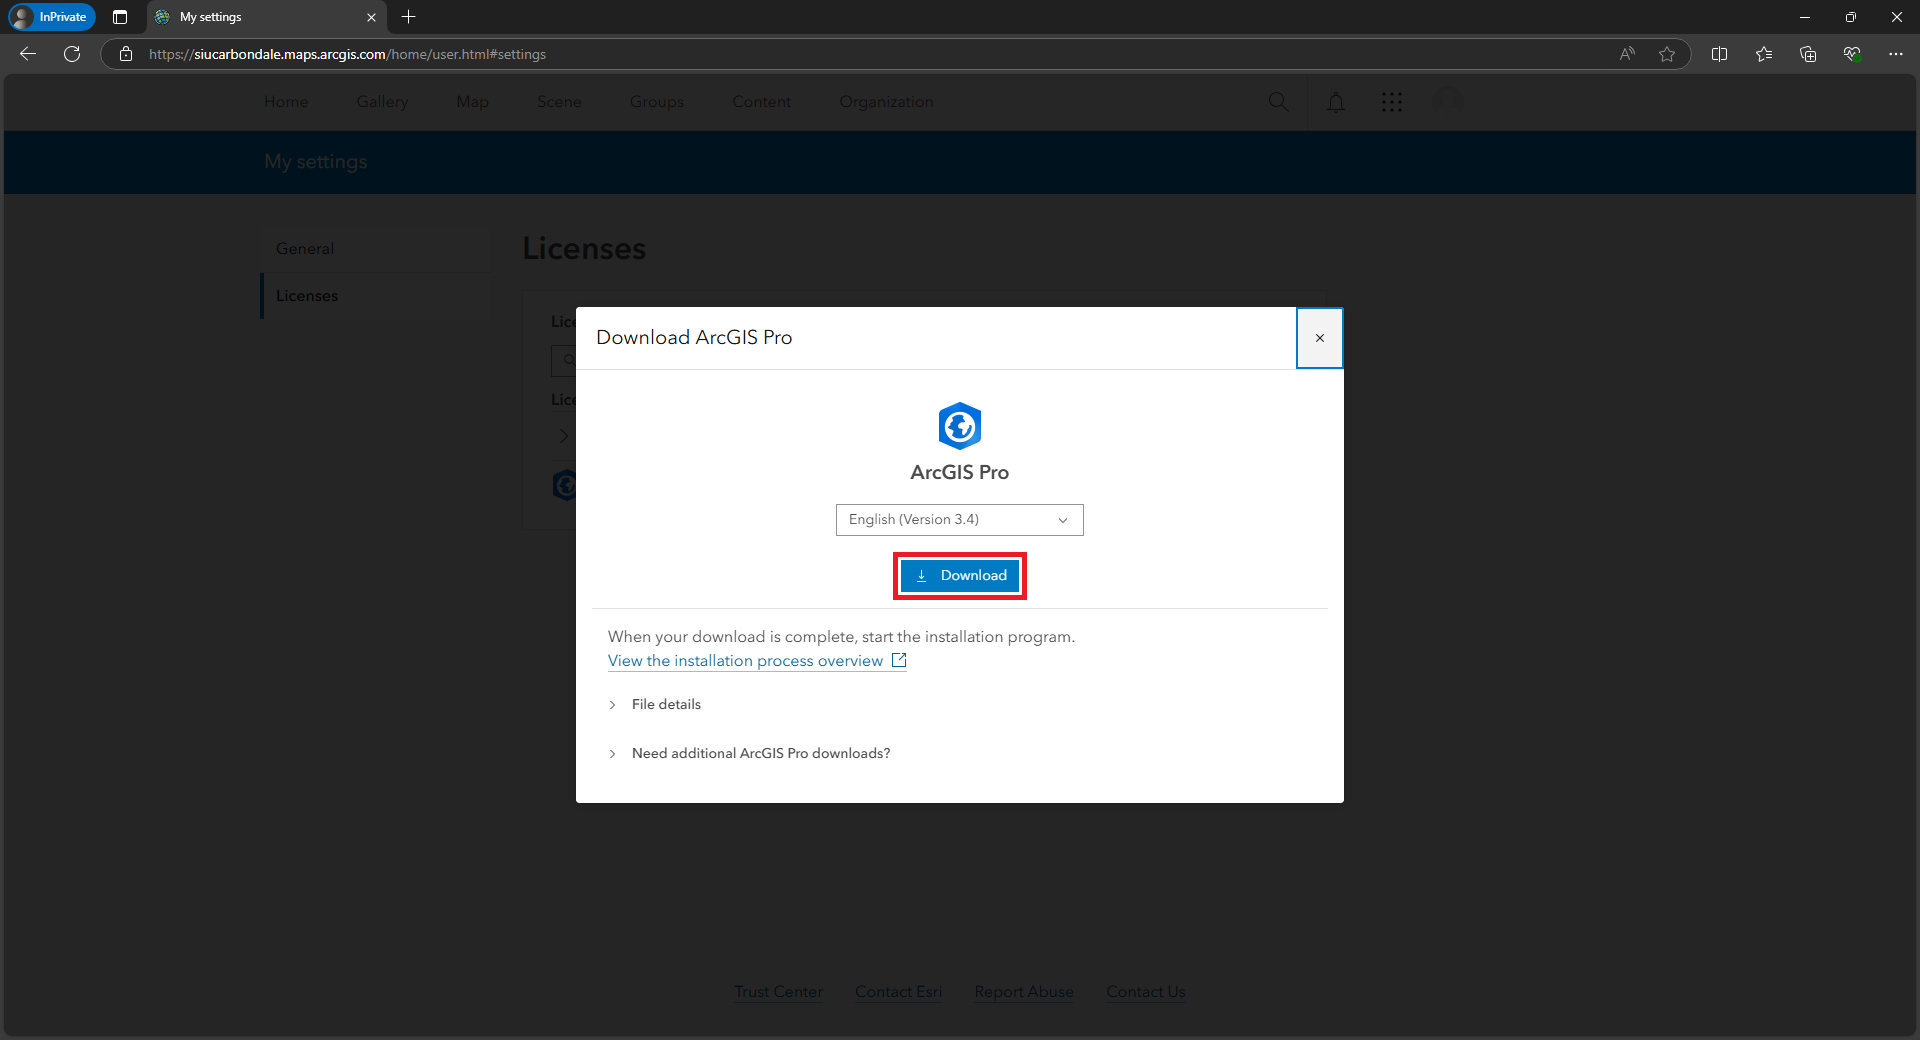 | Download ArcGIS Pro: * Click Download. * Open the downloaded installer and follow the installation prompts. |
 | Destination Folder for Files: * Click Next. |
 | Installation files have been successfully extracted to your computer: * Check Launch the setup program. * Click Close. |
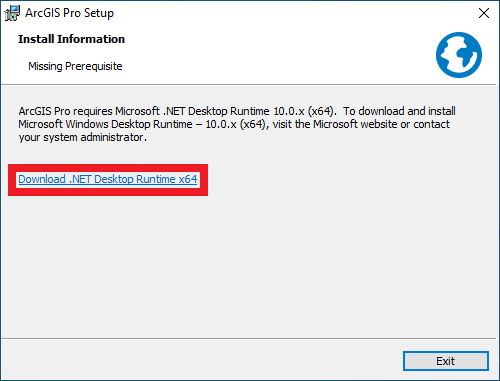 | Install Information: If prompted, download and install any missing prerequisite installs: * Microsoft Windows Desktop Runtime 10.0.0 (x64) |
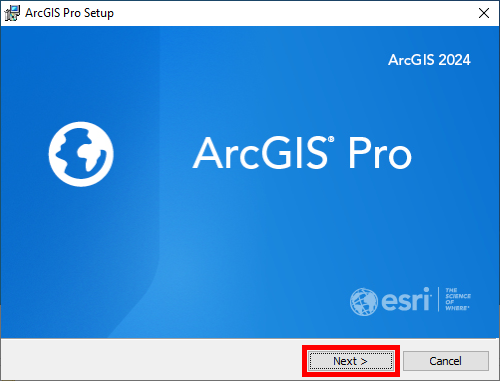 | ArcGIS Pro Setup splash screen: * Click Next. |
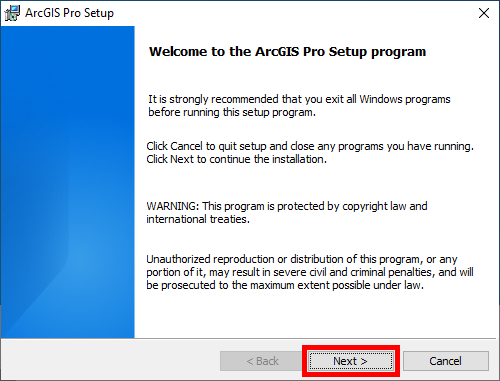 | Welcome to the ArcGIS Pro Setup program: * Click Next. |
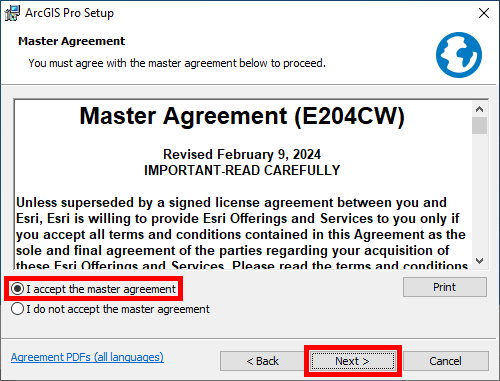 | Master Agreement: * Select I accept the master agreement. * Click Next. |
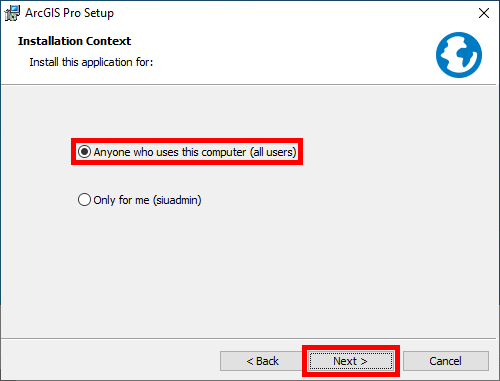 | Installation Context: * Select Anyone who uses this computer (all users). * Click Next. |
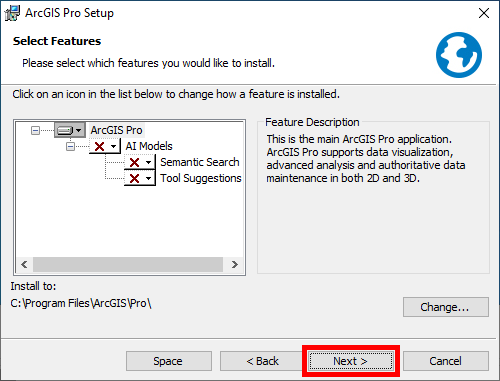 | Select Features: * Click Next. |
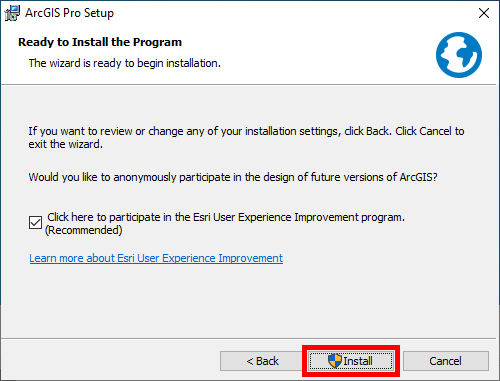 | Ready to Install the Program: * Click Install. |
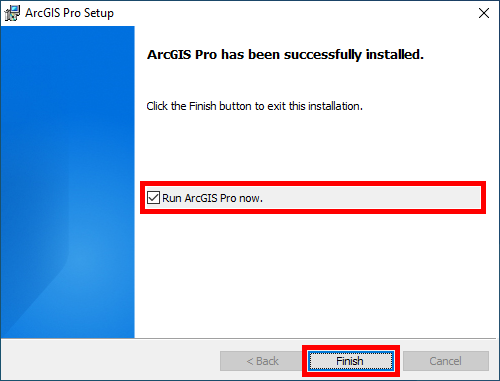 | ArcGIS Pro has been successfully installed: * Check Run ArcGIS Pro now. * Click Finish. |
 | Open ArcGIS Pro: * Open the ArcGIS Pro app. * Click Configure Licensing. |
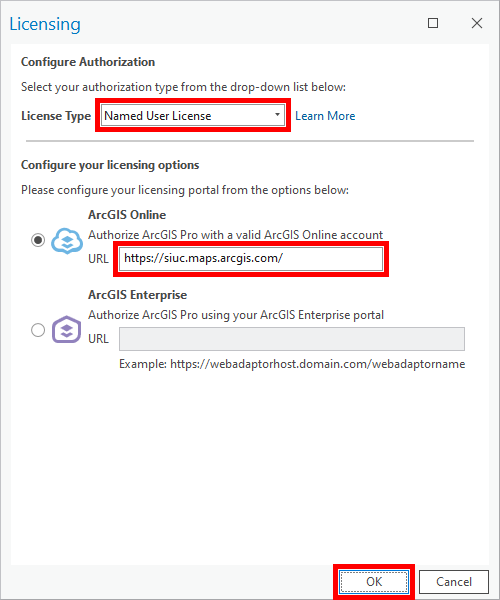
 | Configure Licensing: * Select License Type: Named User License * Select License Portal: ArcGIS Online * Enter URL: https://siucarbondale.maps.arcgis.com/ * Click OK. |
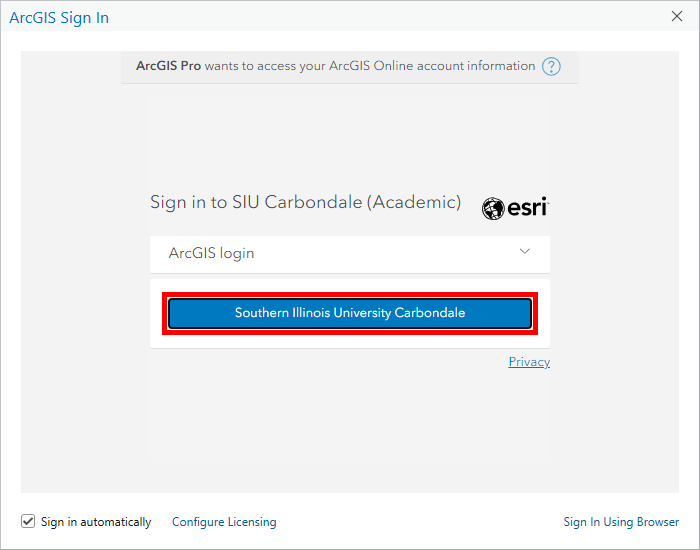 | Sign in ArcGIS Pro: * Click Southern Illinois University Carbondale. * Sign in with your @siu.edu email address and password. |
Frequently Asked Questions (FAQ)
What is our ArcGIS license cycle?
Our ArcGIS license cycle is August 16th through August 15th the following year. Licenses must be renewed each year.