Browse Our Knowledge Base
Proxy/3rd Party and Authorized Payer Access Password Change
To set up 3rd Party Proxy Access and Authorized Payer Access, please go to Proxy Account Setup – OIT Knowledge Base
Changing your Proxy/3rd Party Access password
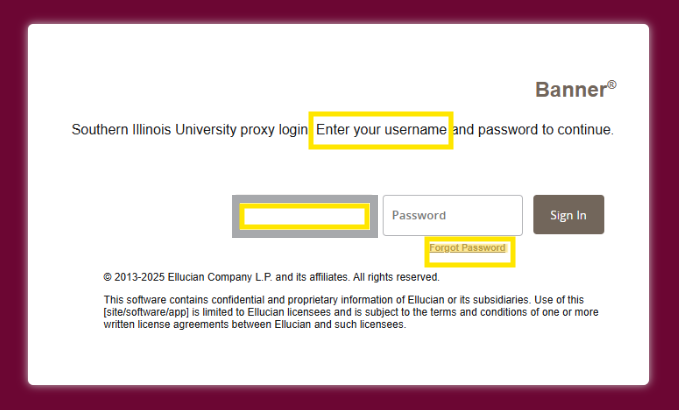
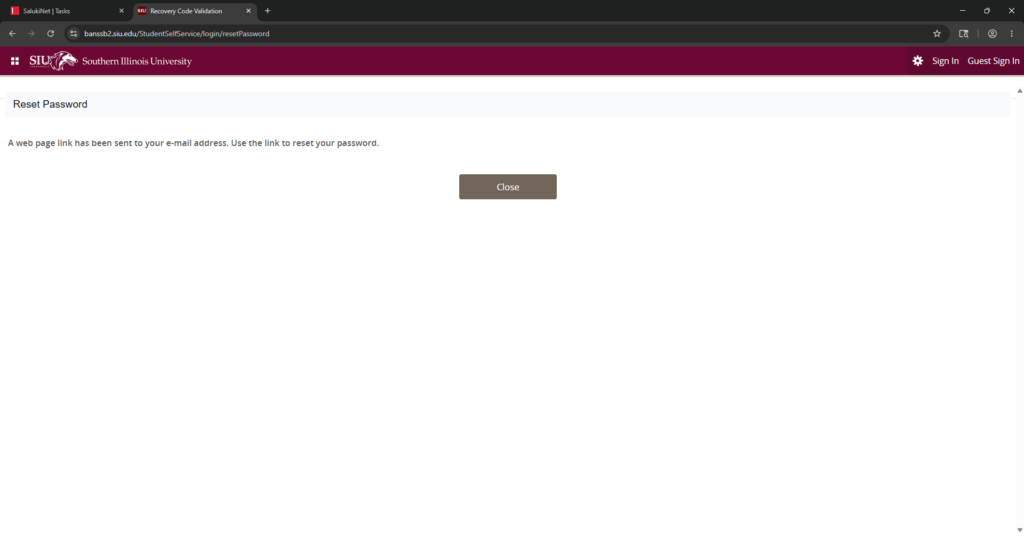
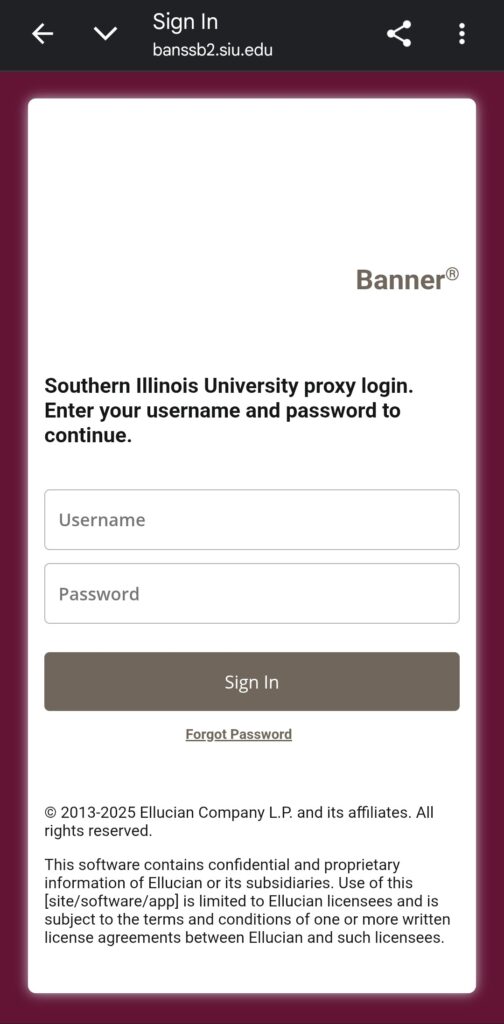
To change your password after setting up the account, you will need go to Proxy/3rd Party Access portal, enter the email used to create the account in the username field, and then click forgot password.
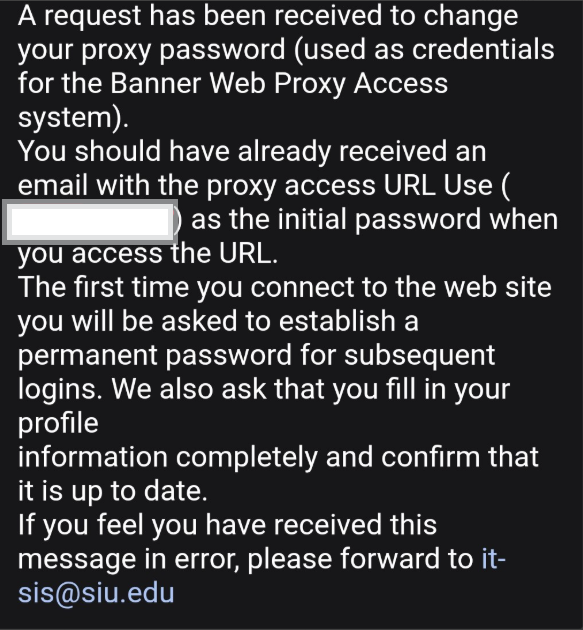
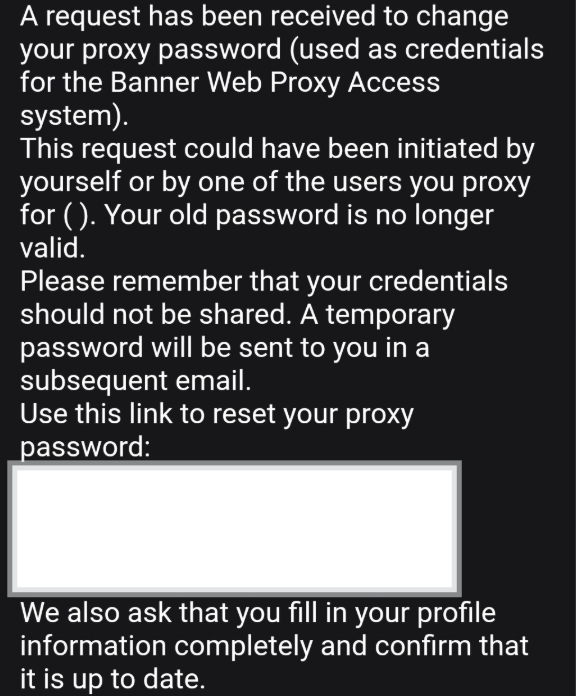
After submitting the request, two emails will be sent to you. The first email will have the “Initial Password” which contains letters and numbers incased in quotation marks (example: “abc123”). In the second email, there will be a reset link. Once you click this link, it will ask for the “Initial Password” from the first email.
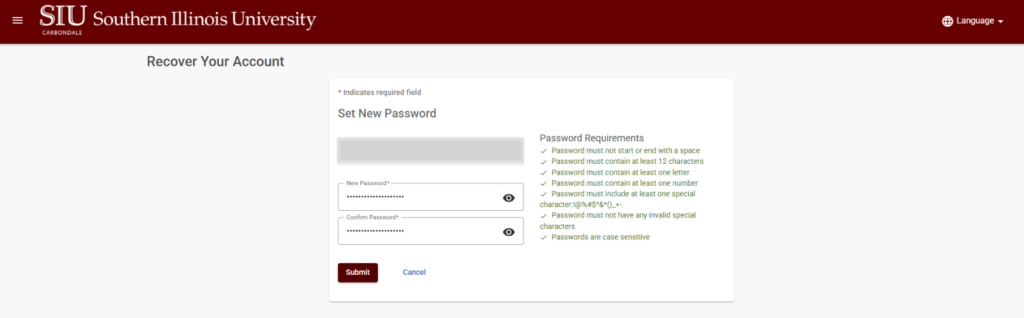
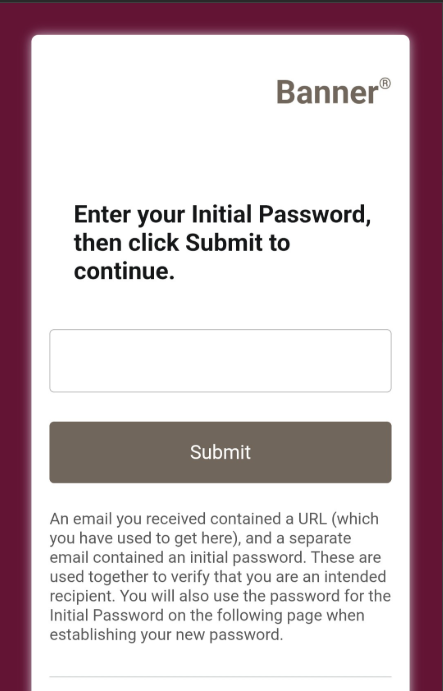
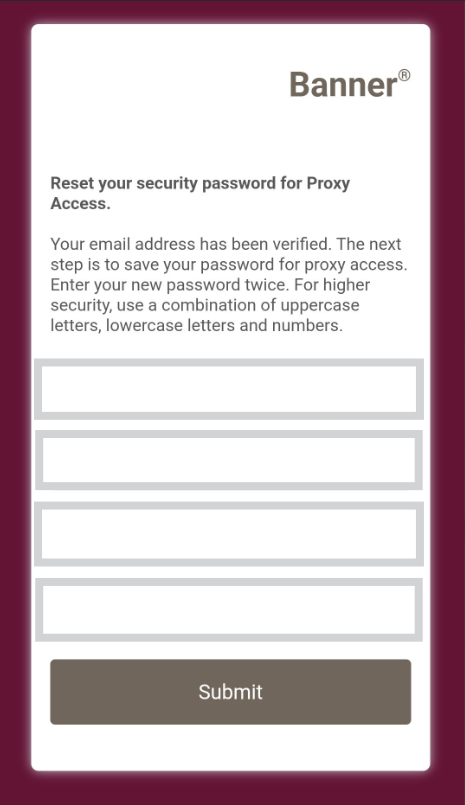
Once you enter the “Initial Password”, click “submit“. The next page will ask you to enter your email (the email used to create the proxy), the “Initial Password“, a new password and the new password again.
Authorized Payer Access (Bursar)
Changing your Authorize Payer Access password
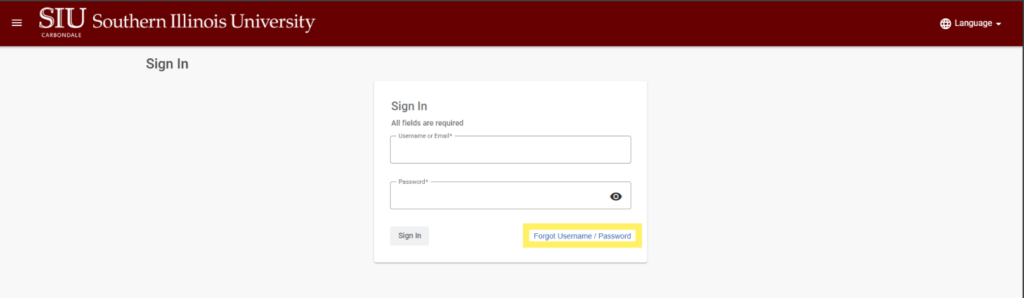
To change your Authorized Payer Access account password, go to Authorized Payer Access, and click “Forgot Username / Password”.
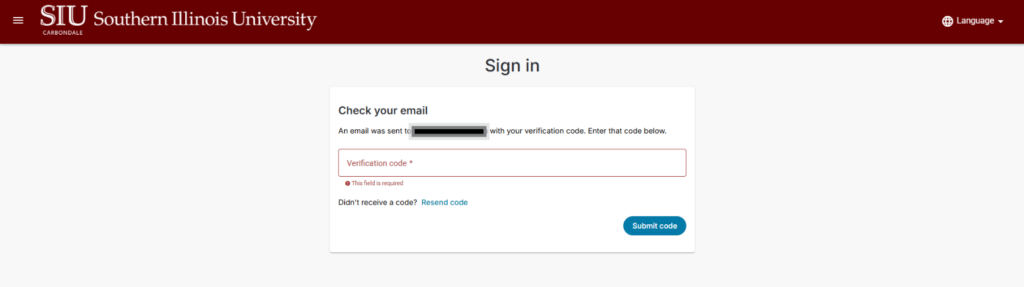
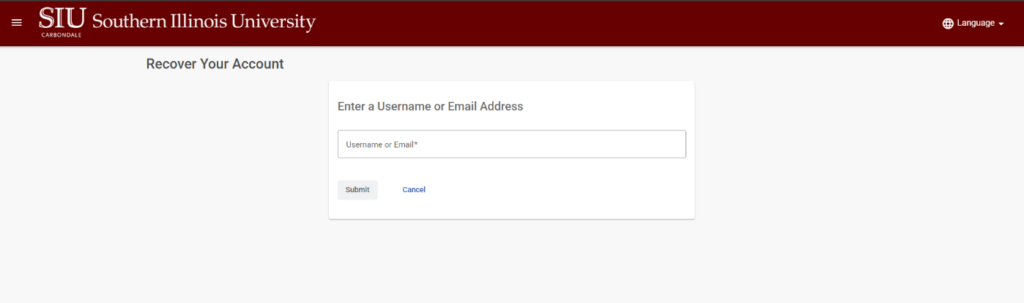
Enter the username or email used to create your account. You will be sent a 7-digit code to this email.
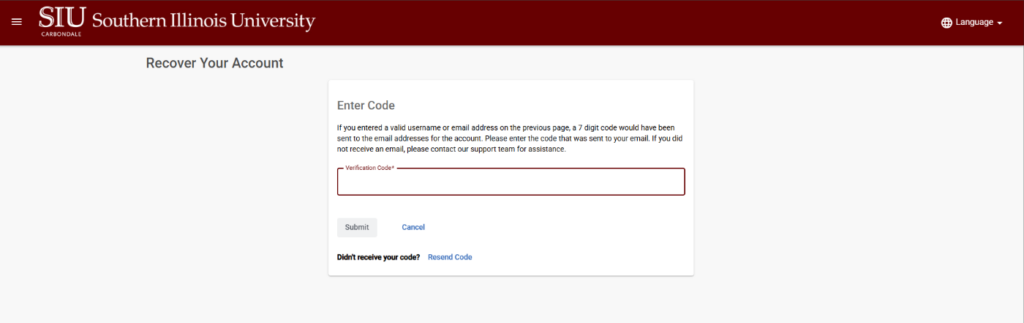
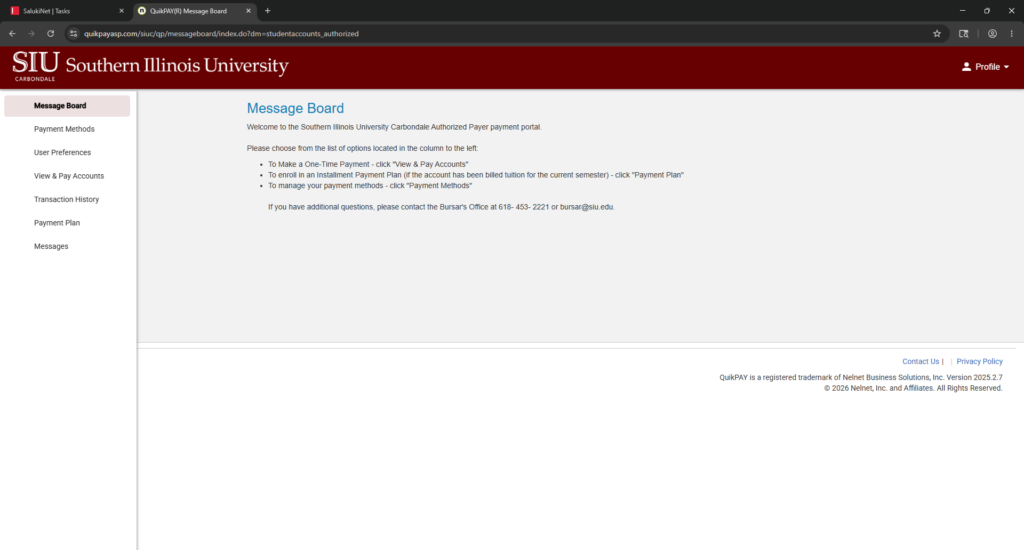
Once you enter the passcode, the next screen will prompt you to create a new password and validate it. After you click submit, a code will be sent to your email. Once you enter this code, you will be signed into the Bursar Portal.