
How Can We Help?

How to register for classes on mobile

You are here:
< All Topics

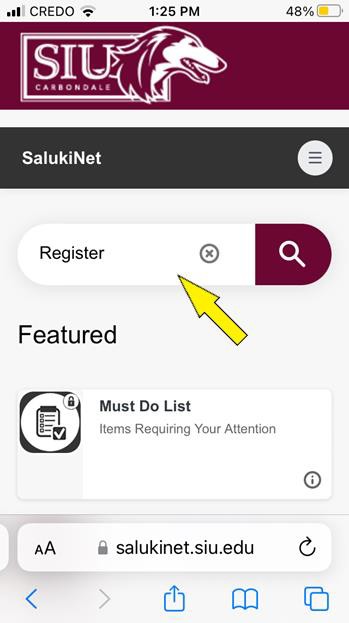
1. Log into SalukiNet.

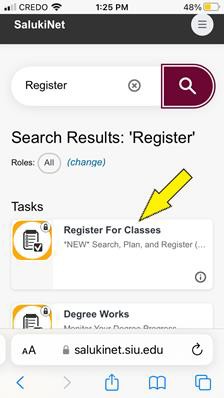
2. Click Register for Classes. If you do not see this option, type “Register” in the search bar at the top of the page and then select Register for Classes.

Screenshot of the SalukiNet homepage search bar.
Screenshot of the Register for Classes option listed in SalukiNet.

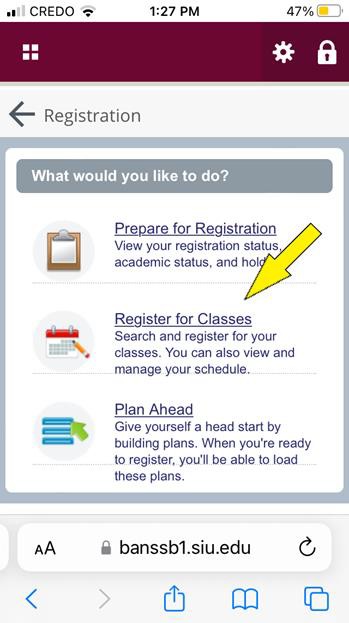
3. On the Registration menu, select Register for Classes.

Screenshot of the Registration option menu.

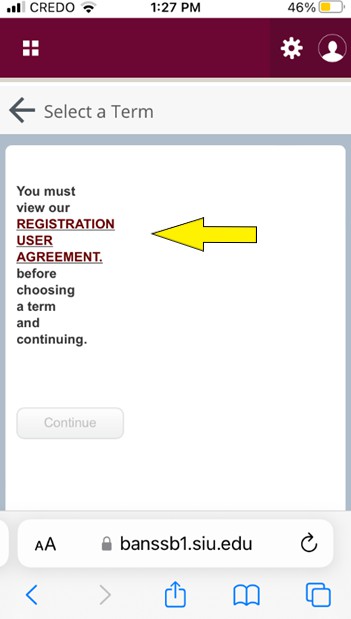
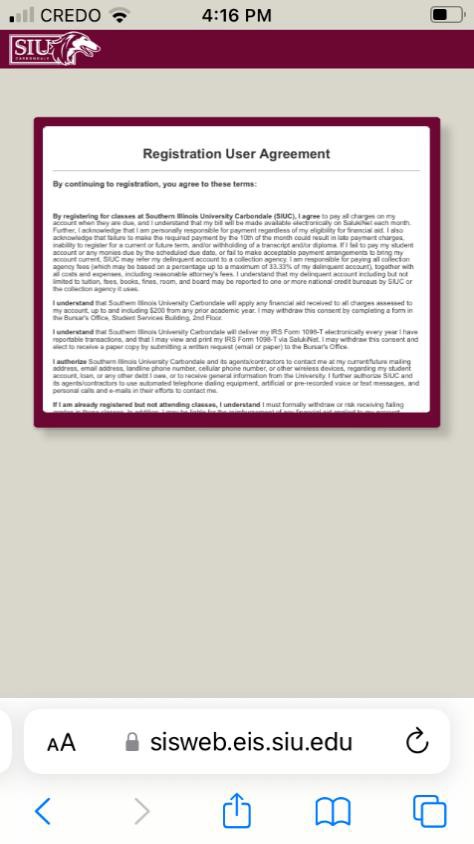
4. Click the Registration User Agreement link. This agreement must be reviewed before proceeding.

Screenshot of Select a Term window,  Registration User Agreement link.
Screenshot of Select a Term window, Registration User Agreement link.

5. Scroll down to read through all the agreement text.

Screenshot of Registration User Agreement window.

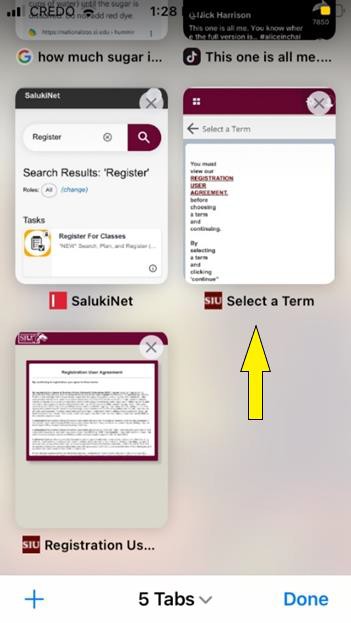
6. Tap the Tabs icon in your browser to switch back to the “Select a Term” tab you were in previously.

Screenshot of Tabs view within a mobile browser.

7. Once you have read through the User Agreement, the Continue button will be clickable. Click Continue.

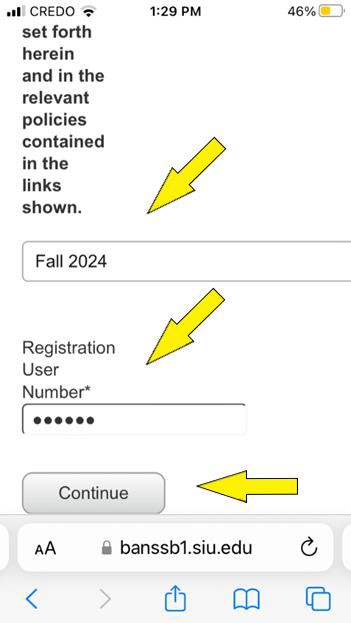
8. Select the Semester you would like to register for.

9. Enter your unique Registration User Number (RUN, aka “Alternate PIN”). Note: If you do not have a RUN number, contact your advisor.

10. Click the Continue Button.

Screenshot of the Course Registration page with the Semester and RUN number fields highlighted.

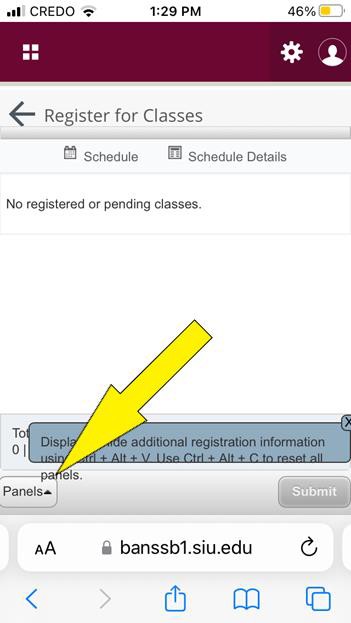
11. Click the Panels button in the bottom left of your screen. Note: You may need to scroll down to see it.

Screenshot of the Register for Classes window with the Panels button highlighted.

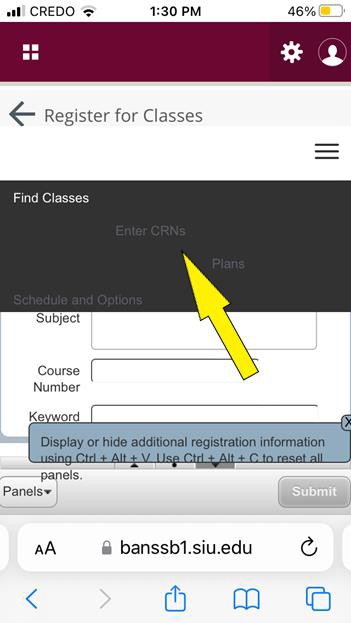
12. Click the menu button in the top right corner (the three stacked lines).

Screenshot of the Register for Classes window with the Menu button highlighted.

13. Select the Enter CRNs option.

Screenshot of the Register for Classes window with the Enter CRNs option highlighted.

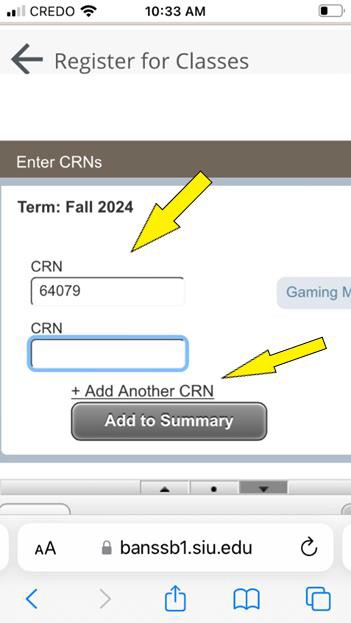
14. Enter the CRN for the course you would like to register for. Optional: Click Add another CRN to register for multiple classes at the same time.

Screenshot of the Register for Classes window with CRNs options highlighted.

15. Scroll to the right to read the title of the class. If the title is for a different/incorrect class, select the CRN box again and enter re-enter the CRN number, ensuring there are no typos.

Screenshot of the Register for Classes window with the Course Name field highlighted.

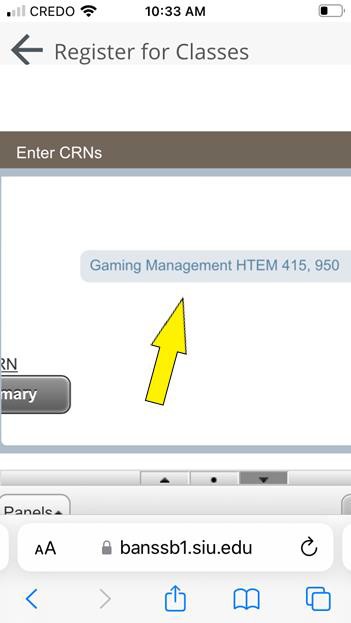
16. Once you have confirmed the course is correct, click the Add to Summary button.

Screenshot of the Register for Classes window with the Add to Summary button highlighted.

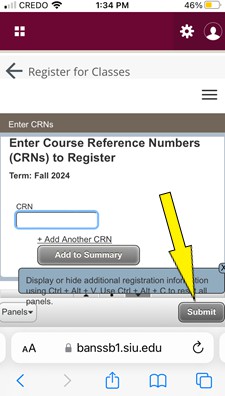
17. Click the Submit button in the bottom right of your screen. Note: You may need to slide the screen to the right to see the button.

Screenshot of the Register for Classes window with the Submit button highlighted.

18. If you have successfully registered, you will receive a “Save Successful” message at the top of your screen.

Note: If you don’t see this message, try clicking the Submit button again. If you are unsure that your registration has gone through, please contact your advisor for assistance.

Was this article helpful?
0 out Of 5 Stars
5 Stars 0%
4 Stars 0%
3 Stars 0%
2 Stars 0%
1 Stars 0%
5
How can we improve this article?
How Can We Improve This Article?

Leave a Reply

Table of Contents