Browse Our Knowledge Base
Using Respondus 4 with VDI
Overview
To access the desktop pool with Respondus 4, you must first install the VMware Horizon VDI client.
Accessing Respondus 4 via VDI
1. Download and install VMware Horizon using the instructions in the following guide: Virtual Desktop Infrastructure (VDI) Guide
2. Once installed, Open VMware Horizon.
3. Add the connection server: https://vdi.siu.edu
4. Click the connection server to sign in.
5. After signing in, select the desktop pool named IT‑CLCLabs.
6. You should be automatically signed in using the same account you used to log into the VDI client.
- If prompted, sign in with your Network ID (SIU85xxxxxxx).
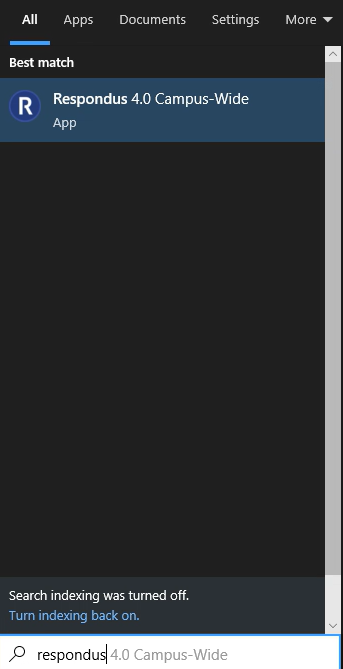
7. Once the desktop loads, click the Search bar in the bottom‑left corner.
8. Type Respondus.
9. Select Respondus 4 from the search results.
10. The first time you open Respondus, you will receive an error message. This is expected. Click OK to dismiss the error.
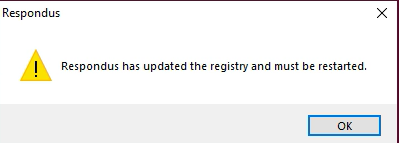
11. Open Respondus again.
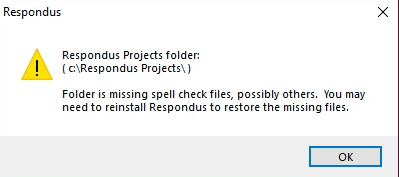
12. Click OK on the notification that appears.
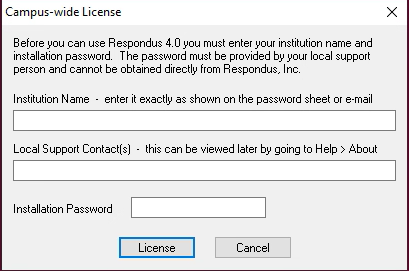
13 License Respondus by entering the following information:
- Institution Name
- Local Support Contact
- Installation Password
Note: This information is available in D2L, on the My Courses homepage for faculty.
14. Click License.
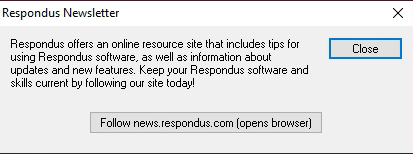
15. Click Close once licensing is complete.
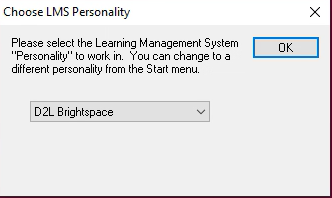
16. From the drop‑down menu, select D2L Brightspace. Then, click OK.
Important: Save Your Work
These desktop pools are non‑persistent, meaning all data is lost when you sign out.
Be sure to save your work to:
- OneDrive, or
- Another external or cloud‑based storage location
Failing to save your files elsewhere will result in permanent data loss.