Browse Our Knowledge Base
Student Proxy Setup
Overview
We know that parents and other supporters often want to help students, and the University makes this possible through proxy accounts.
While a parent, grandparent, or other designated individual can create a proxy account, only you can grant them access to your SIUC information. You also decide their level of access. For example, you might allow someone to view your bursar account but not your grades.
To learn more about proxy access and how to set it up, follow the steps in this tutorial.
Granting Proxy Access
1. In your browser, go to salukinet.siu.edu
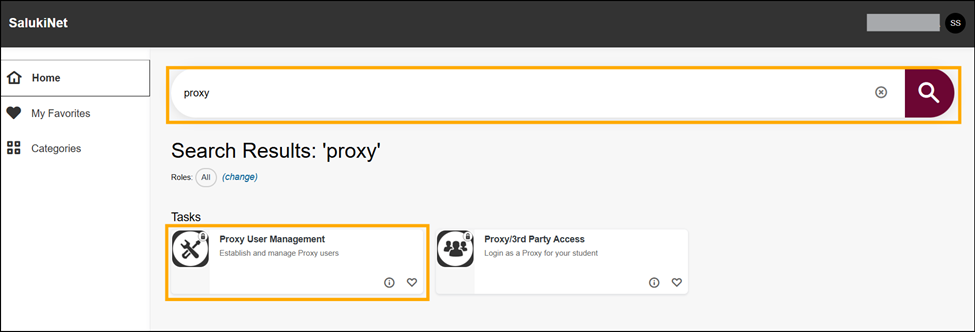
2. In the search bar, type Proxy.
3. Select Proxy User Management.
4. By default, no proxies will be listed. Click Add New in the top right.

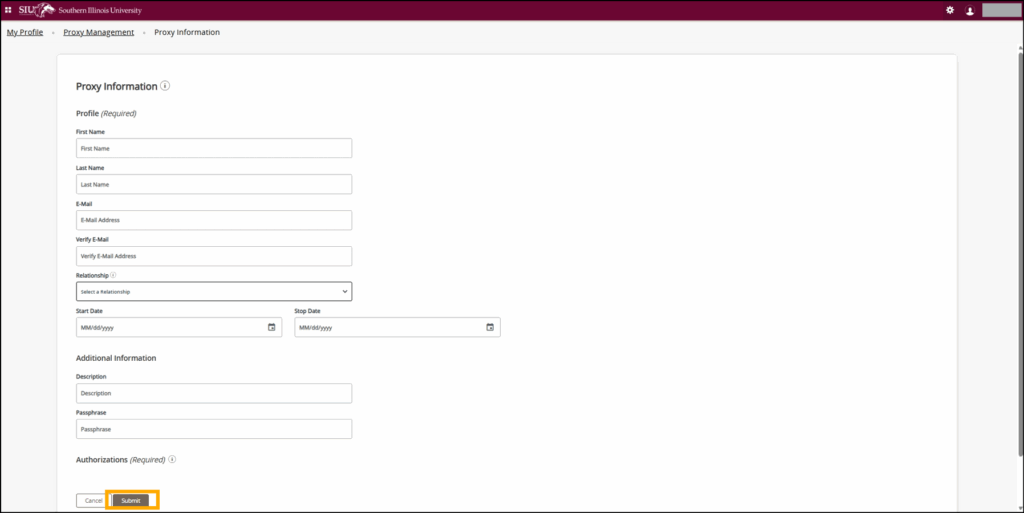
5. Complete all required fields. Click Submit. Note: If the submit button is gray instead of maroon, a required field is incomplete.
6. You will be redirected to the proxy management homepage. Your proxy should now be listed. Note: Their account will say “inactive” until they have completed setup. Please advise your proxy to check their email for next steps. Proxy instructions can also be found here.

Note: If you would like your proxy to have Bursar access (to view billing statements and/or make payments), please proceed to the next section of this tutorial.
Adding a Proxy to the Bursar Portal
1. In your browser, go to salukinet.siu.edu
2. Search for “Bursar” in SalukiNet.
3. Select Bursar Payment Portal.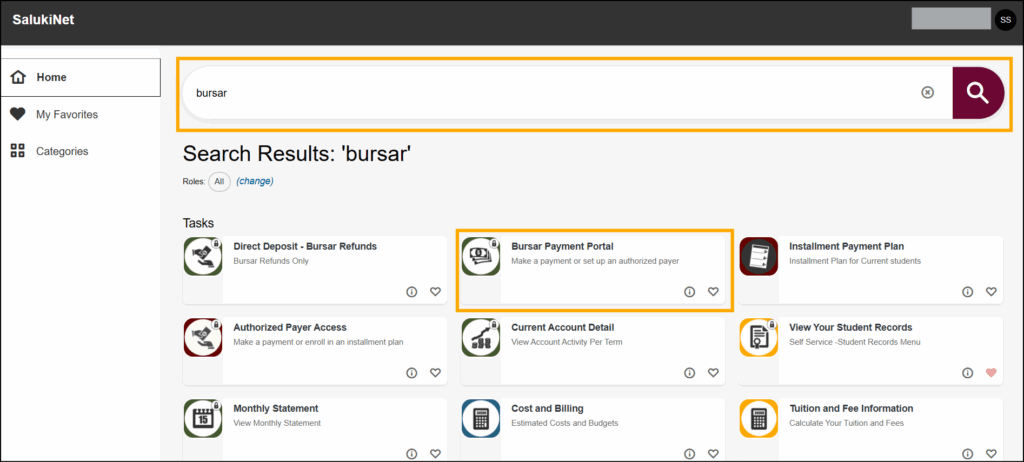
4. If prompted, sign in with your SIUC email address and password.
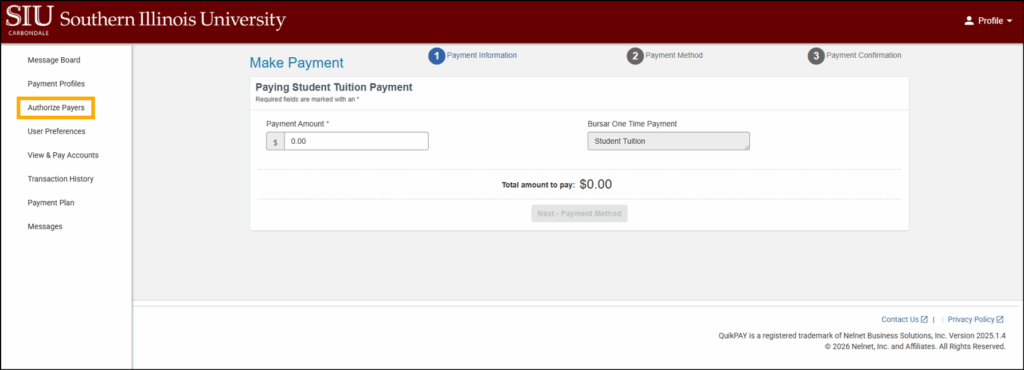
5. Click Authorized Payers on the left-hand menu.
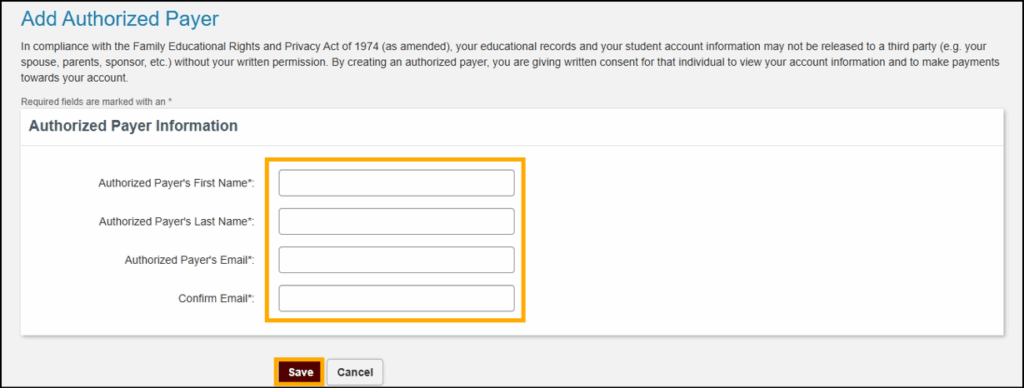
6. Click Add New.

7. Complete the required fields. Then, click Save.
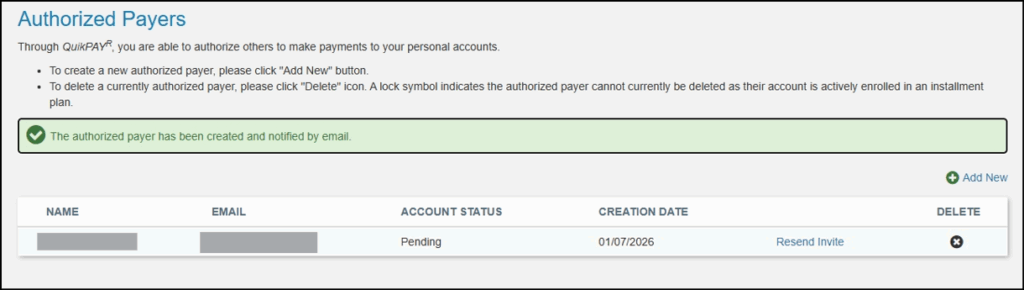
8. You will receive a confirmation message and the proxy’s account will now be listed under your Authorized Payers. Their account will continue to show as “pending” until they complete the required setup. Proxy Bursar instructions can be found here.
Modify Proxy Access
1. Go to salukinet.siu.edu in your browser.
2. Search for “proxy.”
3. Select Proxy User Management.
4. If prompted, sign in with your SIUC email and password.
5. Click the pencil icon under your Proxy’s name/email.
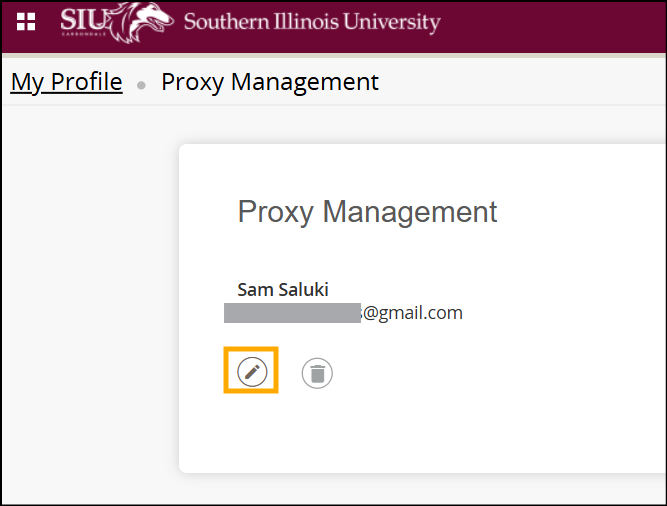
6. The proxy’s account will open. Modify the fields as needed. To adjust a proxy’s access, scroll down to the access list and check (or uncheck) the item(s) you would like to grant or revoke access to.

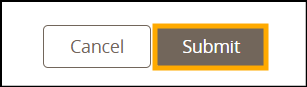
7. Once done, click the Submit button at the bottom of the page to save your changes.
Remove Proxy Access
1. Go to salukinet.siu.edu in your browser.
2. Search for “proxy.”
3. Select Proxy User Management.
4. If prompted, sign in with your SIUC email and password.
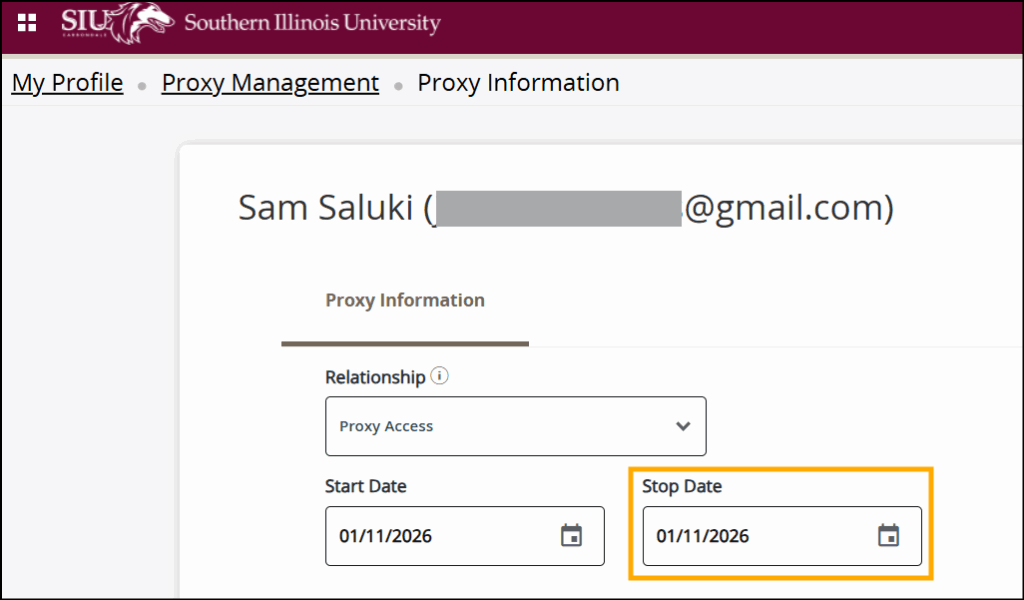
5. Click the pencil icon under your Proxy’s name/email.
6. Change the “Stop Date” to whenever you would like their access to be removed. To remove access right away, set it to the current date.
7. Scroll to the bottom of your screen and click Submit. Access will be revoked as scheduled.