Browse Our Knowledge Base
How to use User Codes with GFI Sharp Multi-function Printers
Overview
This article is intended to serve as a guide for GFI printers that are secured with a user code for copying and printing.
Windows Setup
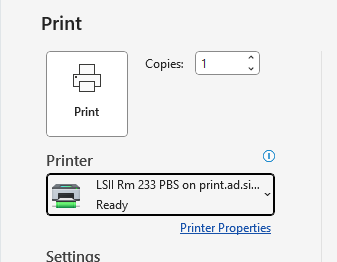
.1. Click File, then select Print. Or, press CTRL+P on your keyboard.
2. Select the name of the printer you want to use.
3. Click on Printer Properties.
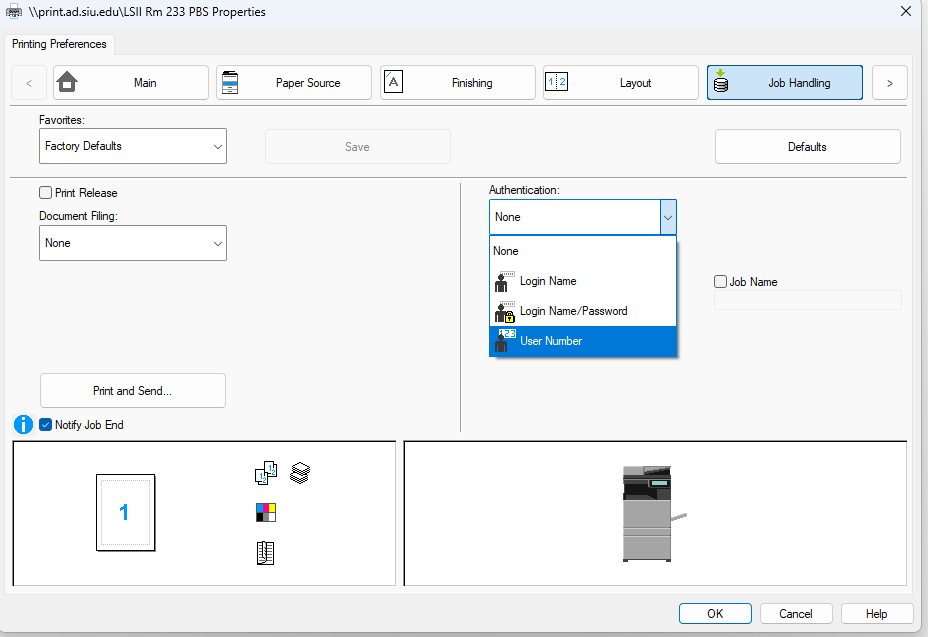
4. From the properties window, select Job Handling.
5. Click on the Authentication drop-down menu and select User Number.
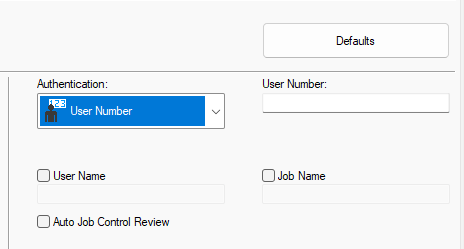
6. In the User Number field, type the code your department gave you for the copier and click on OK.
Note: This code only needs to be entered once. It will be saved under your profile for next printings.
Mac Setup
1. Open the Print Preview screen.
2. Click Show Details.
3. Select the Text Edit box. Then, choose Job Handling.
4. From the Job Handling window, select Authentication.
5. Click the bubble next to User Number to select this option.
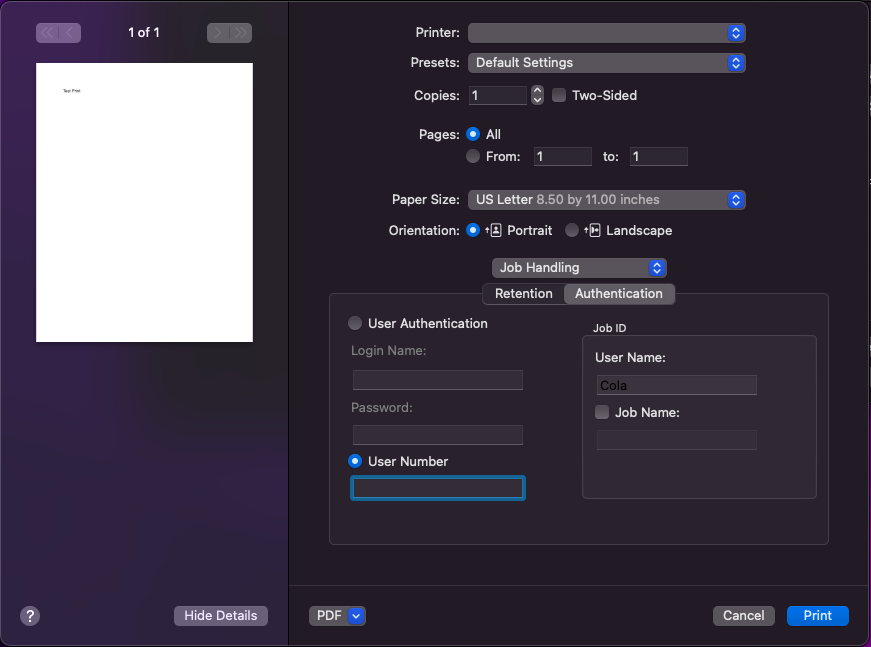
6. Enter your 5-digit printer code.
Optional: to save this code for future use, click the Presets drop-down menu near the top of the window and select Save Current Settings as Preset.
Note: If your print job stalls on “Hold for Authentication,” simply remove and re-add the printer with the Protocol option set to “HP Socket.”