Browse Our Knowledge Base
Spirion Identity Finder

Overview
Information Technology Security department runs monthly scans to identify potential sensitive information on university owned computing devices. Spirion Monthly Scan incidents are generated in Tikit. Users are assigned as the requestor for the Tikit incident and asked to take actions to remediate all sensitive information from the computer. This is a sample of a Tikit Incident – Spirion Monthly Scan:
Tikit – Spirion Identity Finder
Spirion Scan: Spirion Monthly Report – No Requestor – Device Name The following notification is included in the body of the incident.

Be aware some remediation actions options will result in data being permanently deleted and irretrievable.
On your computer
On the host computer, identified in the Tikit Incident, the End User will open the Local Spirion App. You can easily find the app on your computer by searching for Spirion.
The Spirion App will prompt the user to create a new profile password or Skip.
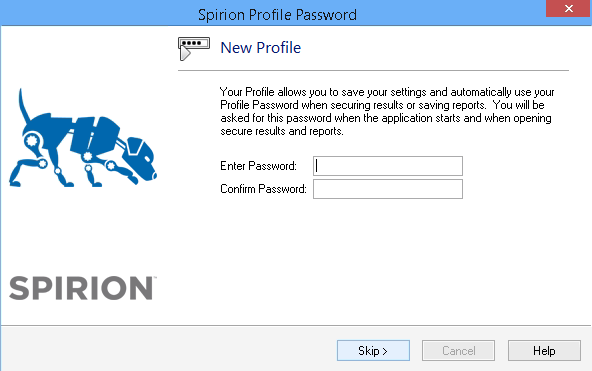
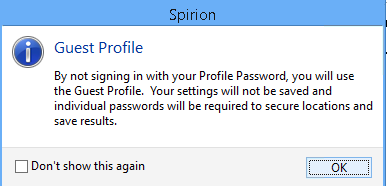
If you choose to Skip a guest profile will be used.

Check Don’t show this again and click ok.
If you choose to create enter a password, enter and confirm password. You will receive the following popup signaling your password has been created successfully.

Click OK.
Once your password is created the Spirion Password Vault will open. Once you have typed the password and click ok. Fill in the Username, Password, Location and Comment and Click Add.

Click Close.

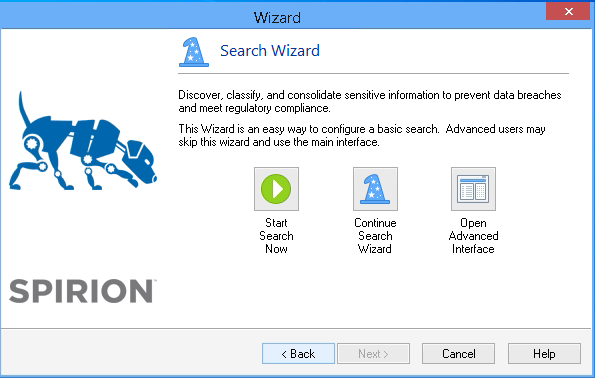
Open the Spirion App.
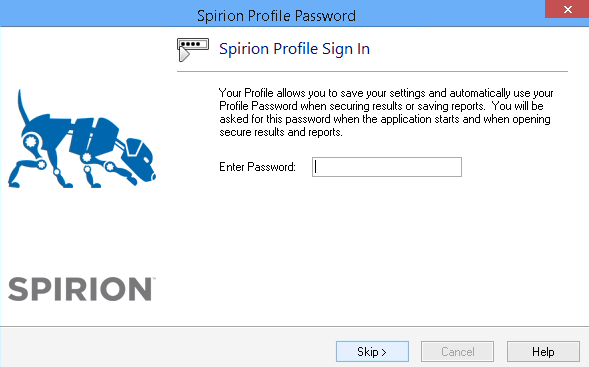
You will be prompted for the Spririon profile password. You can enter the password or Skip. If you select Skip you will receive the Guest Profile pop up, check Don’t show this again and click ok.
Click Start Search Now.
Spirion Identity Finder will initiate an ad-hoc scan that may vary slightly from the main campus audit that generated the Cireson Incident, depending on local scan configuration.
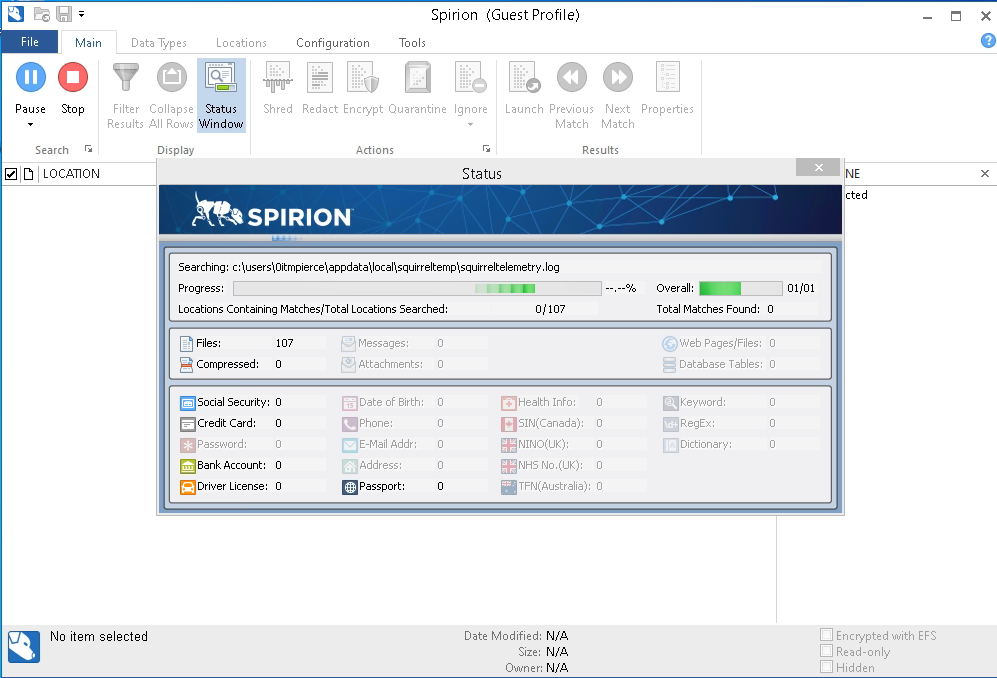
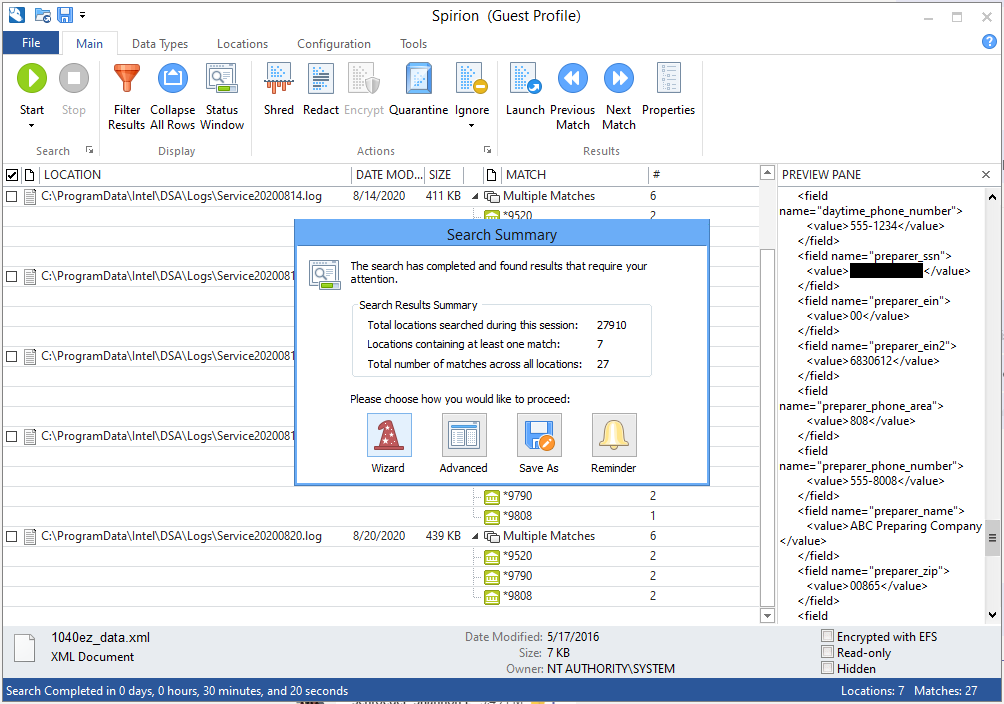
Once the scan is complete you will need to take remediation actions.
- Determine the type of information in the match and an appropriate remediation action.
- Finally, choose the appropriate remediation task from the top ribbon area.
- If you are unsure, or need assistance determining an appropriate course of action, please contact your Desktop Support Team.
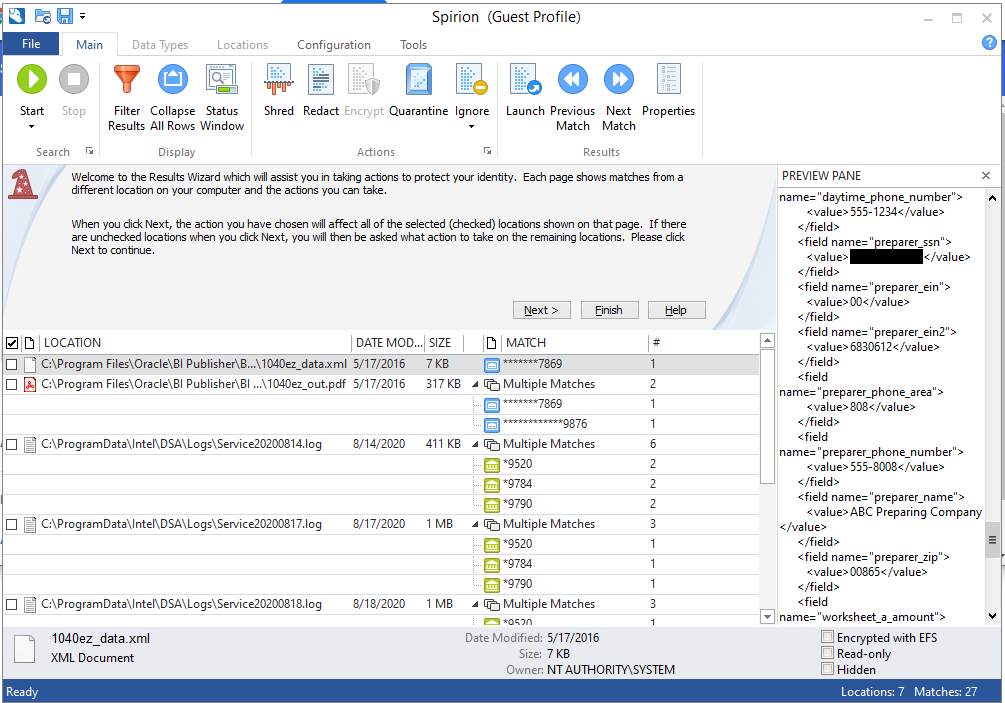
The Results Wizard will assist in taking actions for remediation. The Match column shows the potential sensitive data. Click on each match to view the preview pane which will show additional details about the match to assist in selecting the proper remediation action.
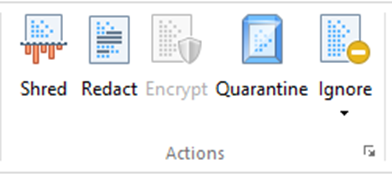
Remediation Actions
- Shred – Securely delete the file if it is no longer required
- Scrub – Remove the sensitive data from the file
- Quarantine – Move the file containing sensitive data to a separate location and shred the original
- Recycle – Move the file to the recycle bin to delete at a later time
- Ignore – Ignore the item if it is a false positive, or if the user does not want the item to appear in subsequent searches
Avoid marking things as “Ignore” without first verifying that the results are false positives. If you are seeing legitimate sensitive information, it needs to be remediated (preferably removed entirely).