Browse Our Knowledge Base
Video Chapters in Microsoft Stream
Overview
In this how-to guide, learn how to add chapters to a video and make changes to these chapters in Microsoft Stream.
Create a Video Chapter
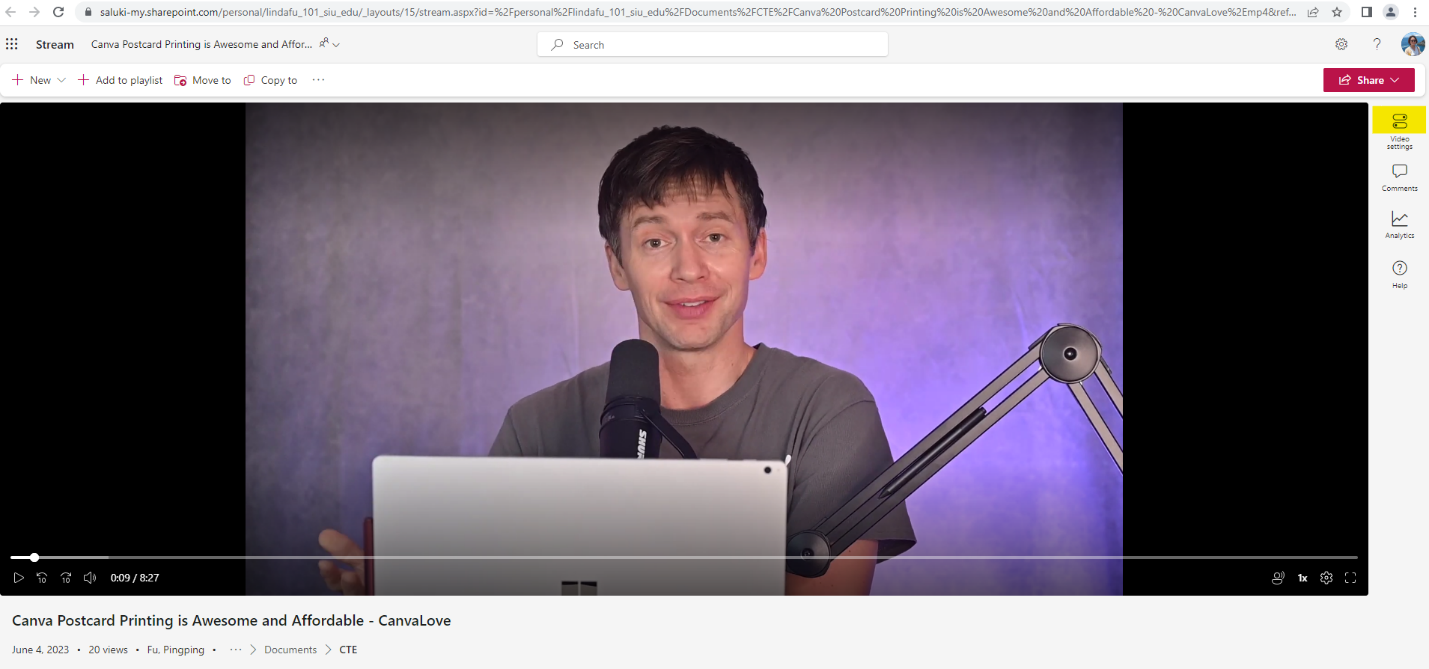
1. Select a video in OneDrive and open it in Stream. Click on Video settings icon from the menu in the upper right corner.
2. Toggle Chapters to on.
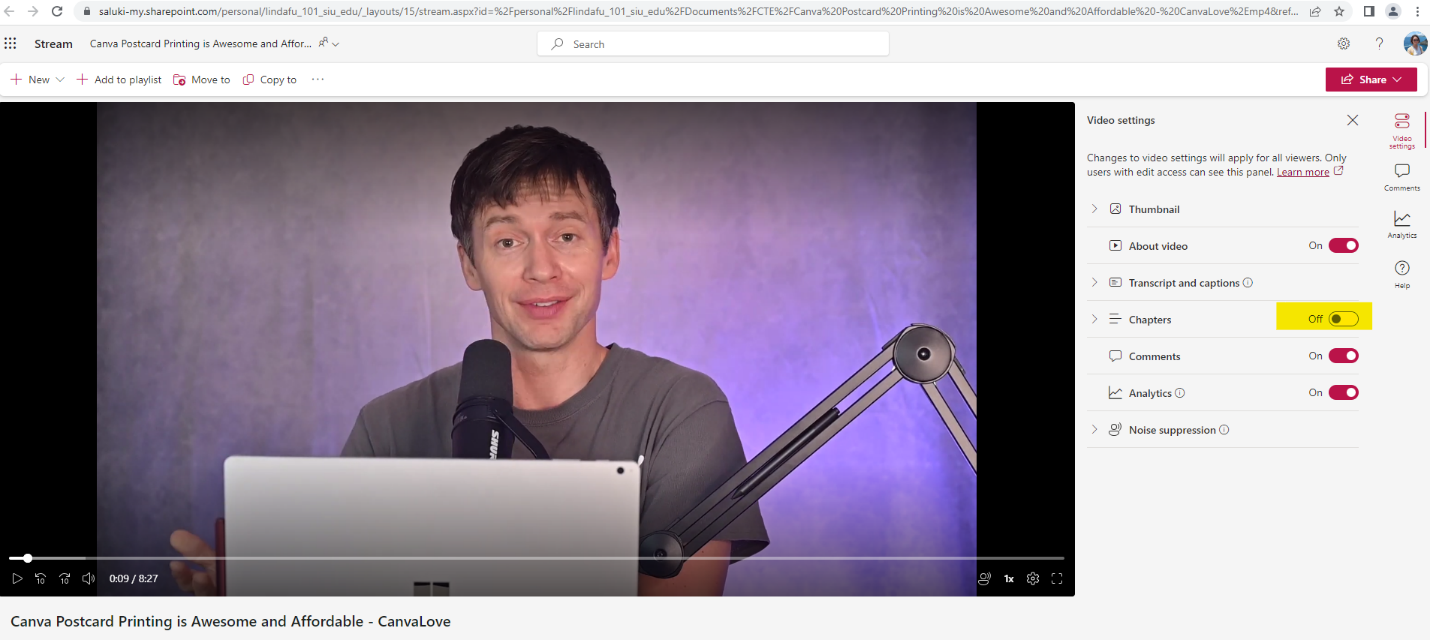
3. Once chapters are enabled, click on Go to chapters.

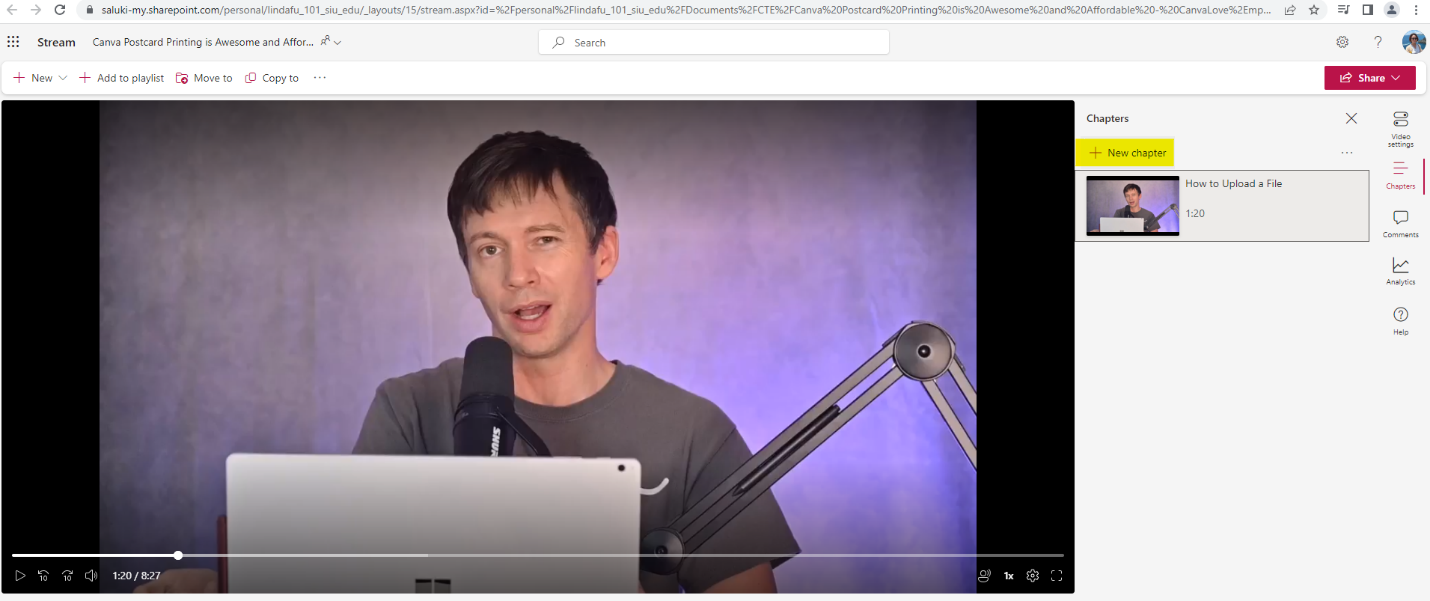
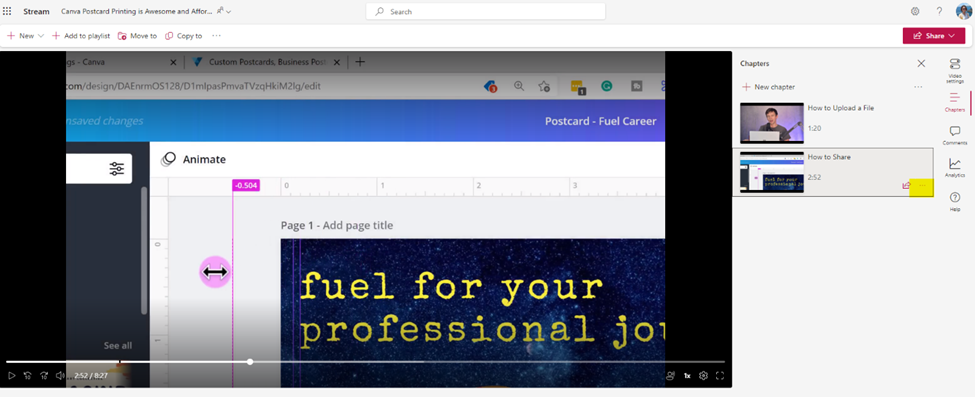
4. The Chapter icon will appear in the menu in the upper-right corner of the video. Select + New chapter to create a chapter.

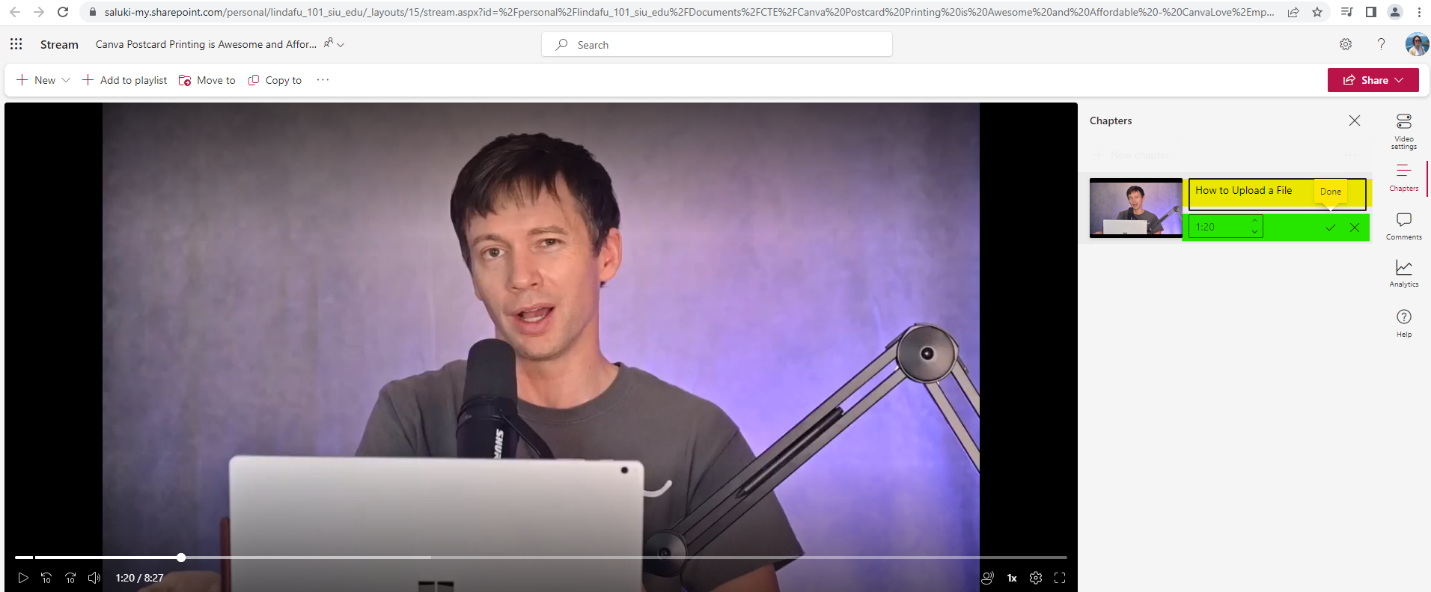
5. Enter a chapter title in the first field. Enter a time code in the second field.
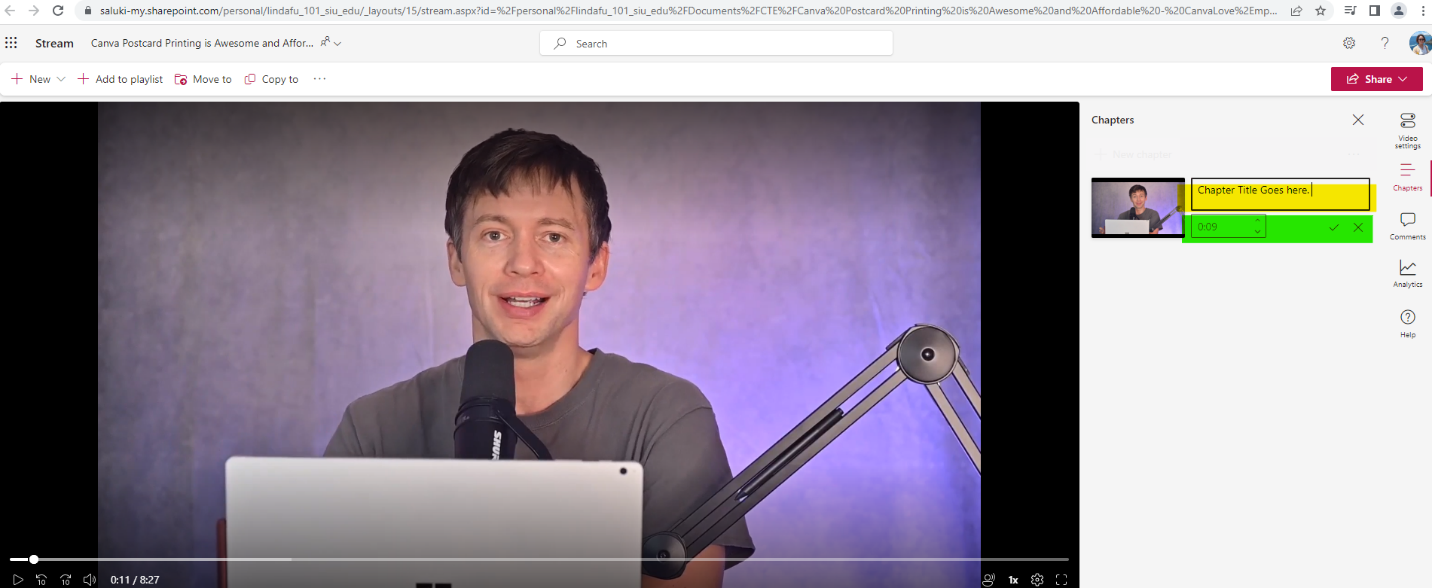
6. Click on the tick to the right of the time code field to save the information.
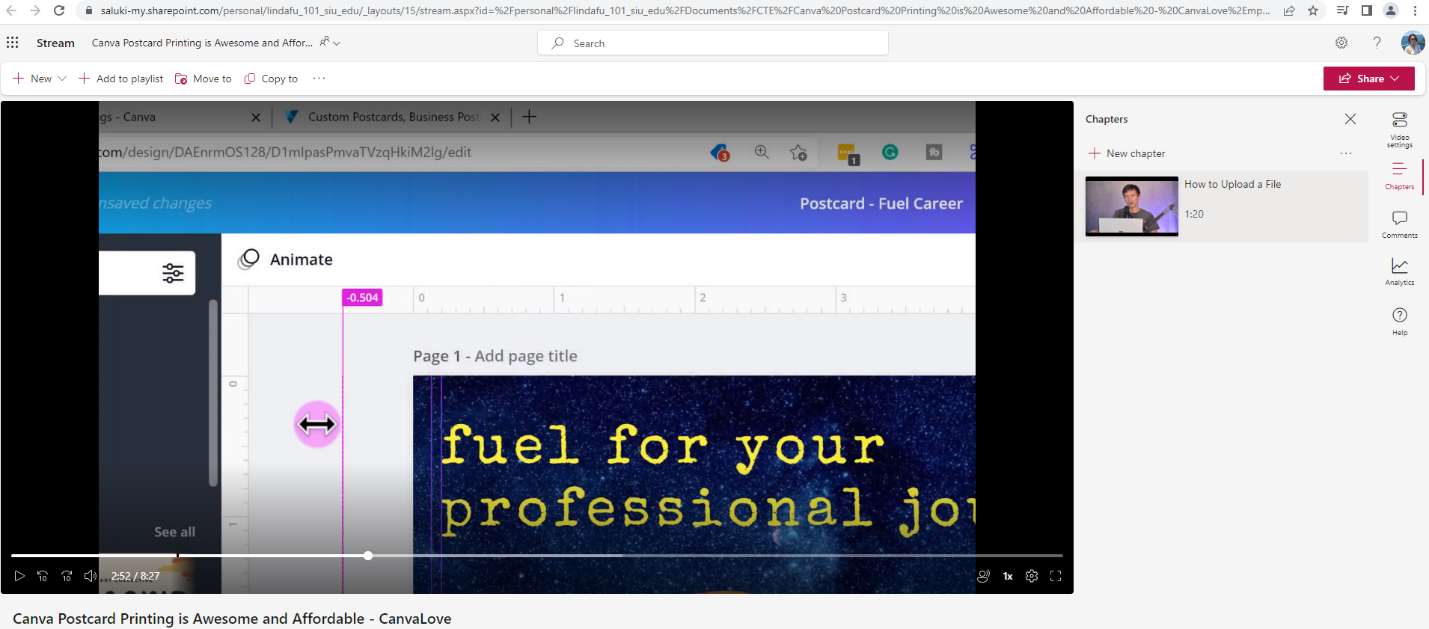
7. Now a video chapter is added to the video and located to the right of the video. To add more video chapters, click on + New chapter and repeat the steps above.
Edit a Video Chapter
1. Hover the cursor over the target chapter. Click on the three dots menu that appears in the bottom right corner.
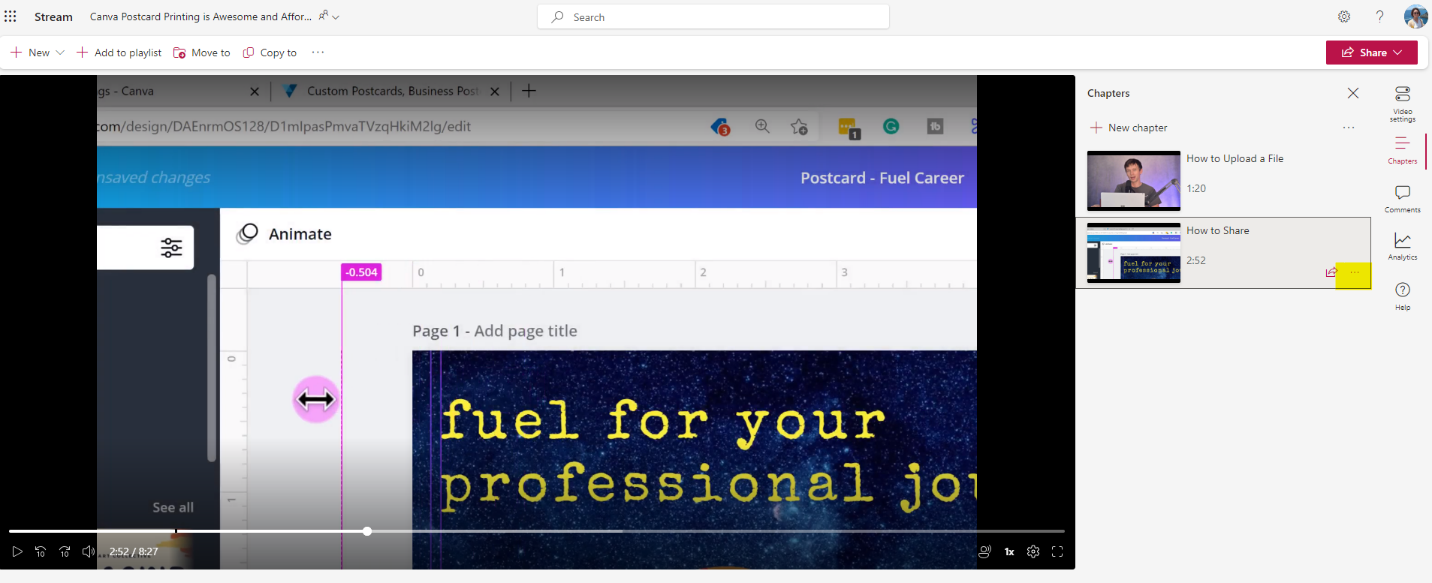
2. Click on Edit in the dropdown menu.

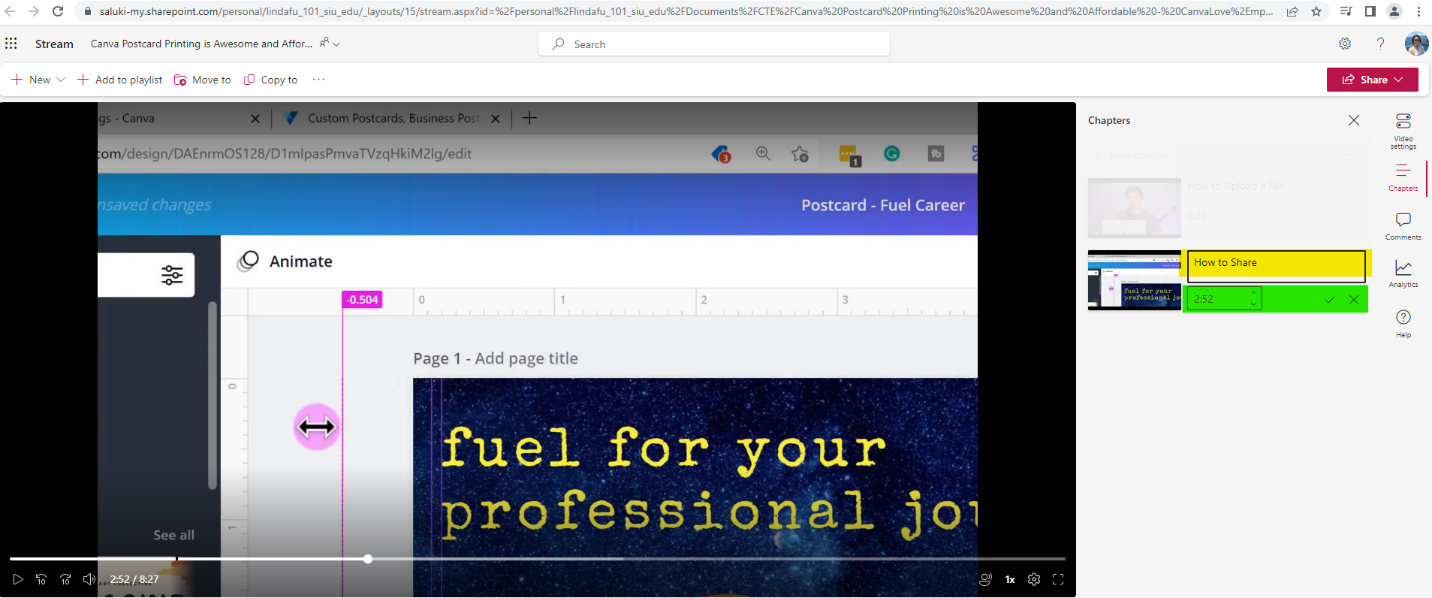
3. The chapter and time code fields are activated and can be edited. Click on the tick to the right of the time code field to save changes.
Delete a Video Chapter
1. Hover over the target video chapter. Click on the three dots menu that appears in the bottom right corner.
2. Click on Delete in the dropdown menu.

3. Click on Yes, delete to confirm the deletion.

4. The video chapter is now deleted from the video.