How Can We Help?
Using Quick Assist

What is Quick Assist
Quick Assist is a Microsoft Windows feature that allows a user to view or control a remote Windows computer over a network or the Internet to resolve issues without directly touching the unit. This feature is only available on windows operating systems.
How to use Quick Assist
There are official microsoft guides here and a video below on how to use Quick Assist. Below the video will be another step by step guide as well.
In this guide we will refer to the person administering help as the “Technician” and the person receiving the help as the “User“

To start, both parties will need to open up the Quick Assist application by opening up the start menu, searching for “Quick Assist” and selecting the application.
From this point onward this guide will be split into separate sections so either party can follow the instructions to administer or receive help through Quick Assist.
User’s Guide
To start press the windows key on your keyboard or select the Windows button on your taskbar, search for Quick Assist, then select it in the list of results (or press the Windows key + Ctrl + Q)

Once started you will see the above screen. The Technician assisting you will provide you with a code. You will enter this code under the “Get help” section where it says “enter code”. Once you have entered this code click “submit”

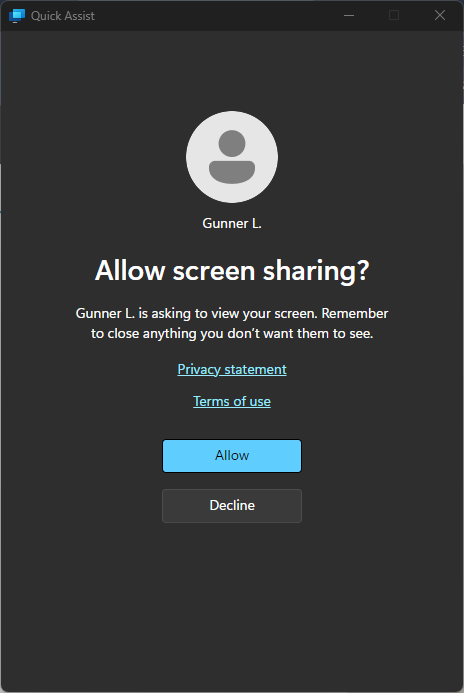
If the connection is successful, you will be asked if you would like to allow screen sharing. To continue click “Allow”
If you select “Decline” the quick assist session will end.

Once you have allowed screen sharing and the connection is successful you will see a bar similar to the one above. The Technician can now see and control your computer. You can use the icons in the Quick Assist bar to chat with the Technician, Pause Quick Assist, or Leave Quick Assist (Stops the connection).

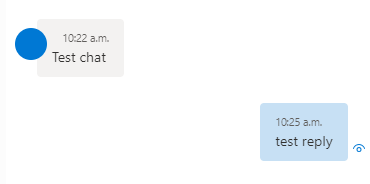
By clicking on the word balloon icon you can open up a chat window with the technician.

You can click the word balloon icon to close the chat.


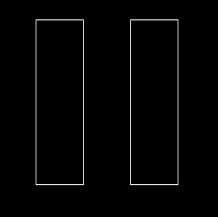
By clicking on the pause icon, you can temporarily pause quick assist. While paused the button will turn into a play button. This will stop the Technician from seeing your screen or controlling your computer until you click the play button to resume the connection.

To end the quick assist session, you can either click the “Leave” button, or close the quick assist bar with the X at the top right.

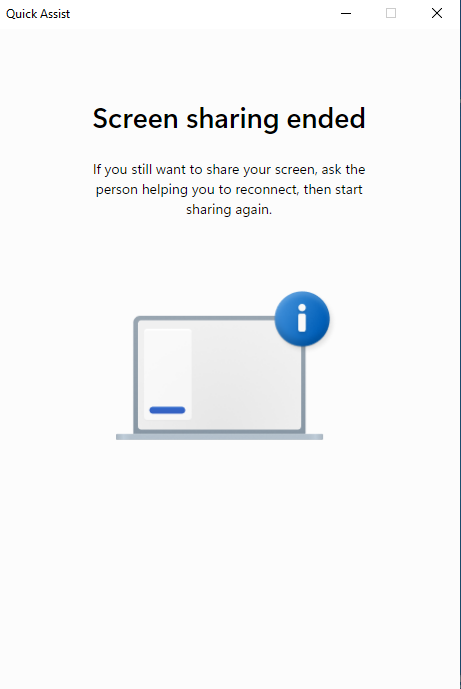
Once you have left the quick assist session you will be met with the window above.
Technician’s Guide
To start press the windows key on your keyboard or select the Windows button on your taskbar, search for Quick Assist, then select it in the list of results (or press the Windows key + Ctrl + Q)

Once quick assist is opened, click on the Help someone button.

You may be prompted to sign in with your @siu.edu email address. Once you have signed in, you will see the above screen with a security code. Share this code with the User and ask them to enter it into the “enter code” field in their quick assist window.
Once the User puts in the code, you both will see a “connecting” screen. The User will see a screen asking to share their screen. Instruct the User to select “allow” to continue.

Once connected you will see a bar similar to the one above.

Select request control to remotely control the PC. This will send a notification to the User and they will need to select “allow” to fulfill this request.

These icons are for the laser pointer and the Annotation tool. With the laser pointer you can use a red dot to point at certain areas of the Users screen. With the Annotation tool, you can draw on the Users screen.


You can edit the Annotation tool you can edit the color with the “marker” icon and erase the drawings with the eraser icon. Clicking “exit annotation” will erase any drawings on the Users screen. All drawings will also be erased once the quick assist session is over.

The next two icons are for selecting which monitor to view (if the user is using multiple monitors) and to fit the quick assist window to the actual size of the User’s screen. If you have the quick assist window maximized on your screen, this button will function as a fit to screen button, which will display the User’s screen in full screen on your desktop.


Similar to the User’s screen, Technicians will also have a chat, and pause icon. The party that has paused the screen share, will be the only party that can unpause the screen share. They can do so by clicking the “play” button.

While a screen share is paused, the technicians screen share will be blacked out and a “pause” icon will be on the screen.
If you have requested control over the User’s PC you will have 2 more icons available to you.

This icon will restart the User’s PC and attempt to reconnect the session. You will be given a prompt before the computer is restarted. Make sure the User has saved anything they are working on before restarting their PC.

This icon will open the task manager on the User’s computer. Use this if you are needing to stop an application or process that is unresponsive or to modify startup items.

The last icon is to reconnect to a closed session. This button will only be available once the session has ended and the Technician’s quick assist window is still open. Once you have closed your quick assist window, the reconnect button will not be available and you will need to provide a new code to the User you are assisting to help.

Similar to the user experience, you can either click leave or close the quick assist window to end your session.
