Skip to main content
How Can We Help?
Overview
Install ArcGIS CityEngine on your personal computer for either academic or non-academic use.
Windows
| These instructions apply to Windows computers. | |
| Uninstall ArcGIS CityEngine: Uninstall all previous ArcGIS CityEngine installations, then restart your computer. | |
| ArcGIS Online: * Sign in ArcGIS Online * Click your username. * Click My settings. | |
| Licenses: * Click the Licenses side tab. * Next to ArcGIS CityEngine, click Download ArcGIS CityEngine. | |
| Download ArcGIS CityEngine: * Click Download. * Open the downloaded installer and follow the installation prompts. | |
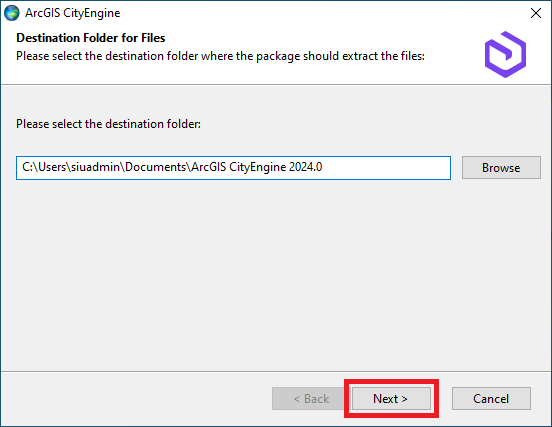 | Destination Folder for Files: * Click Next. |
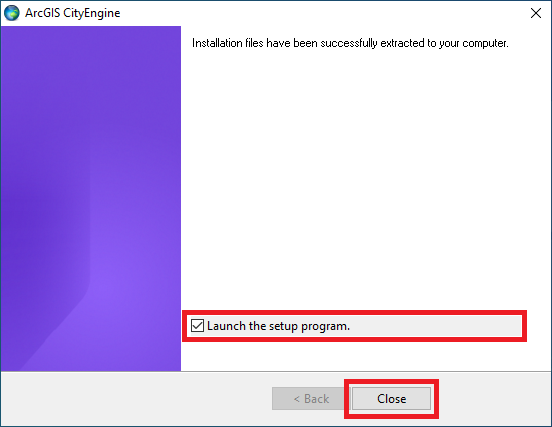 | Installation files have been successfully extracted to your computer: * Check Launch the setup program. * Click Close. |
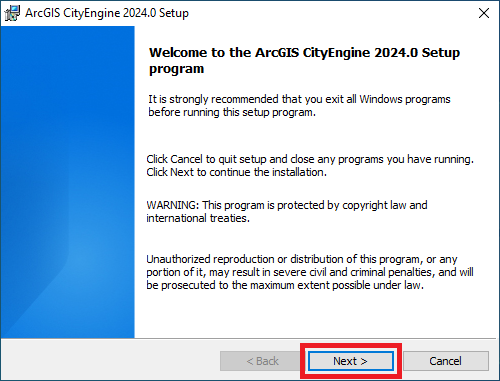 | Welcome to the ArcGIS CityEngine Setup program: * Click Next. |
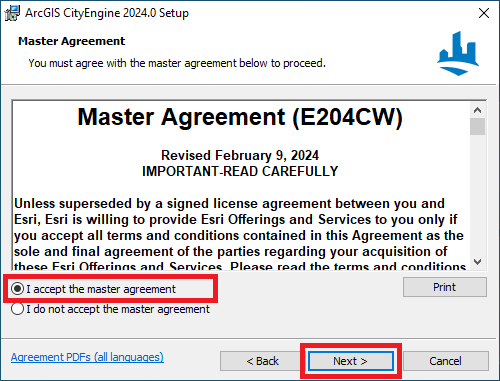 | Master Agreement: * Select I accept the master agreement. * Click Next. |
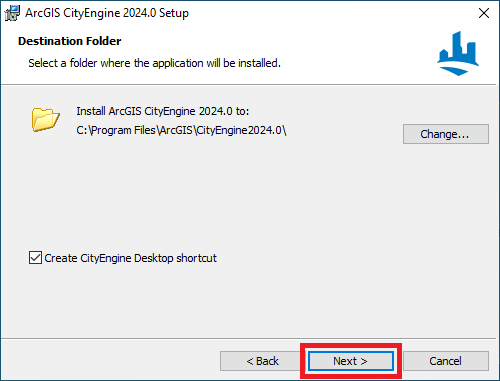 | Destination Folder: * Click Next. |
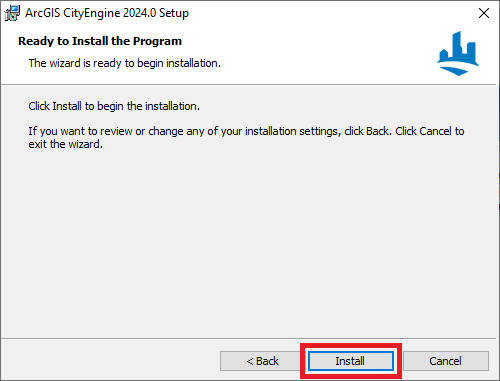 | Ready to Install the Program: * Click Install. |
 | ArcGIS CityEngine has been successfully installed: * Click Finish. |
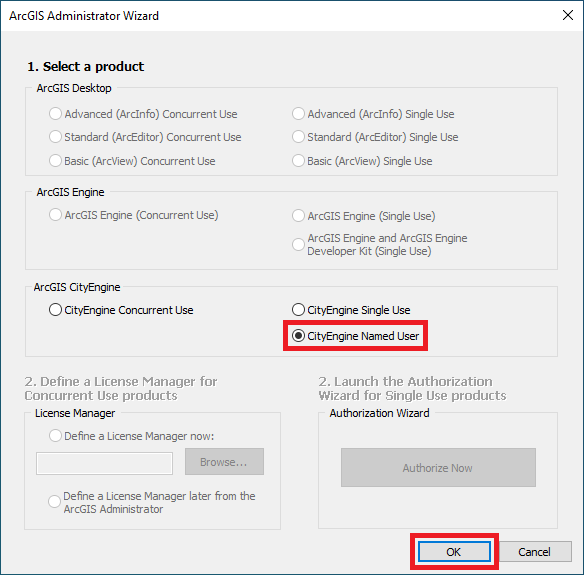 | ArcGIS Administrator Wizard: * Select CityEngine Named User. * Click OK. |
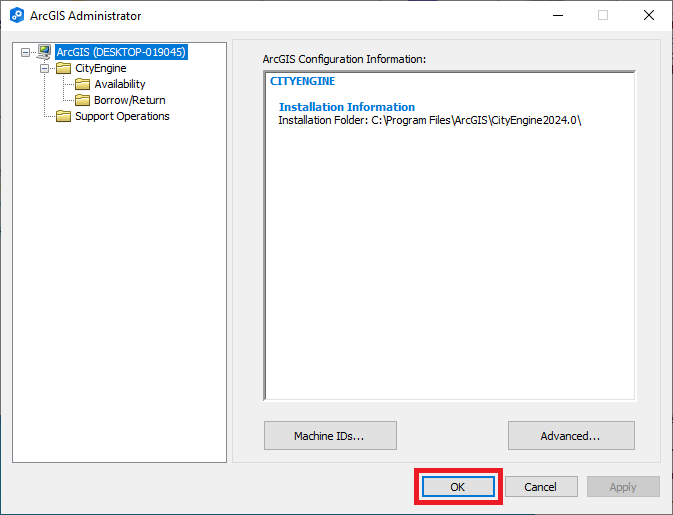 | ArcGIS Administrator: * Click OK. |
| Upon successful installation, sign in to activate: * Sign In/Activate ArcGIS CityEngine |
Frequently Asked Questions (FAQ)
What is our ArcGIS license cycle?
Our ArcGIS license cycle is August 16th through August 15th the following year. Licenses must be renewed each year.