Browse Our Knowledge Base
Proxy Account Setup
Overview
We understand that parents want to stay involved and assist their students. To make this process secure and efficient, the University provides students with the option to grant access to their information through proxy accounts.
While parents, grandparents, or other designated individuals can create a proxy account, only the student can authorize access to their SIU information. Students also control what information is shared. For example, a parent might be granted access to view the bursar account but not grades.
If you have been granted proxy access, follow the instructions below to finish setting up your account.
Initial Proxy Account Setup
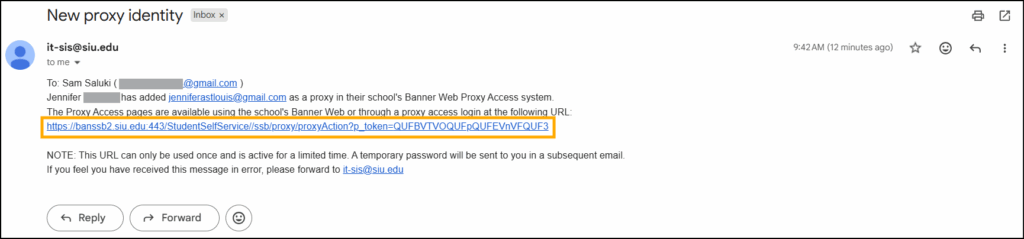
1. Once access has been granted, you should receive two emails; one with a link to setup your account and another with a unique setup pin. Click the login link to get started.
Note: If you previously had a proxy account, you will only receive one email.
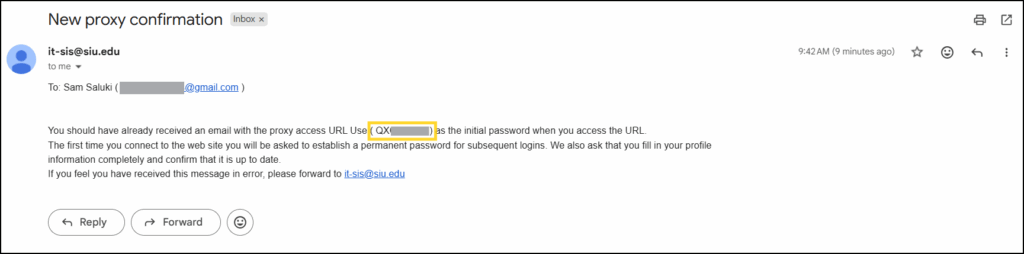
2. Enter the unique code that was provided in the second Proxy email.
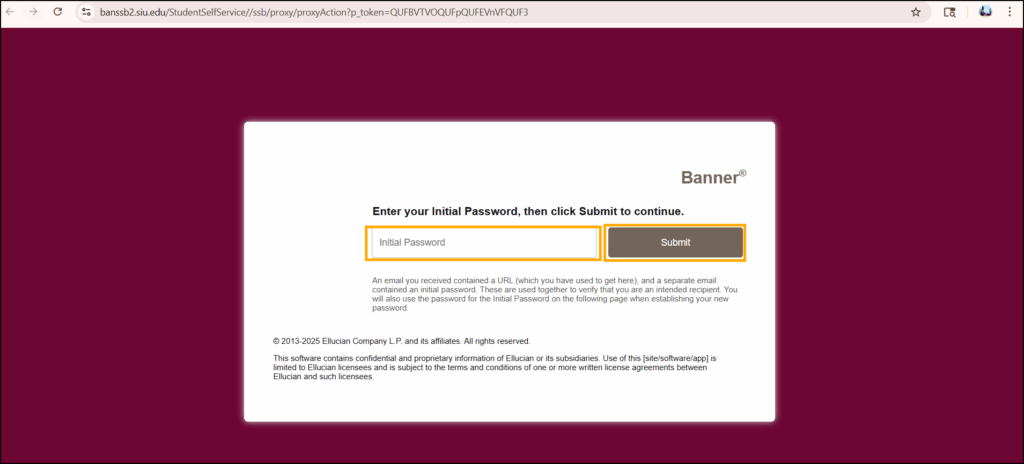
3. Enter the following details:
- Your email address
- Your initial password (the unique pin provided in your proxy email)
- Password you would like to set
- Re-enter your password for confirmation
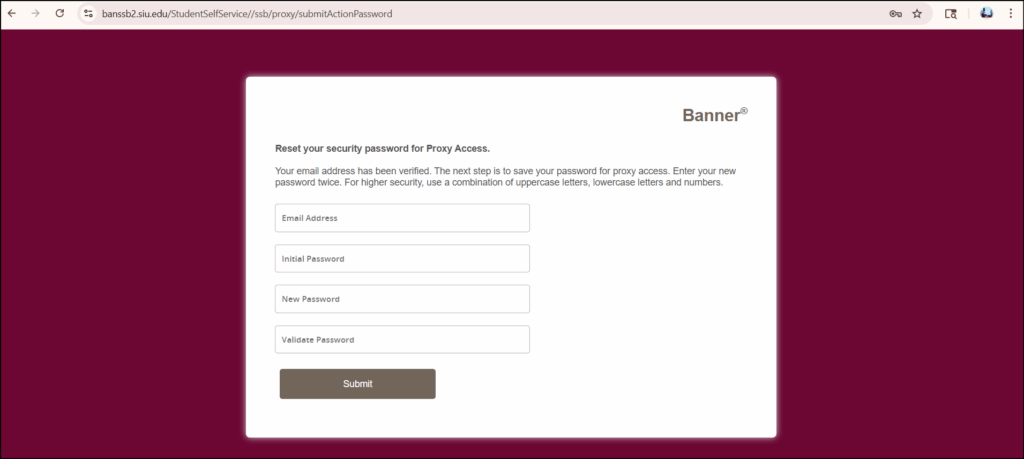
4. Click the Submit button.
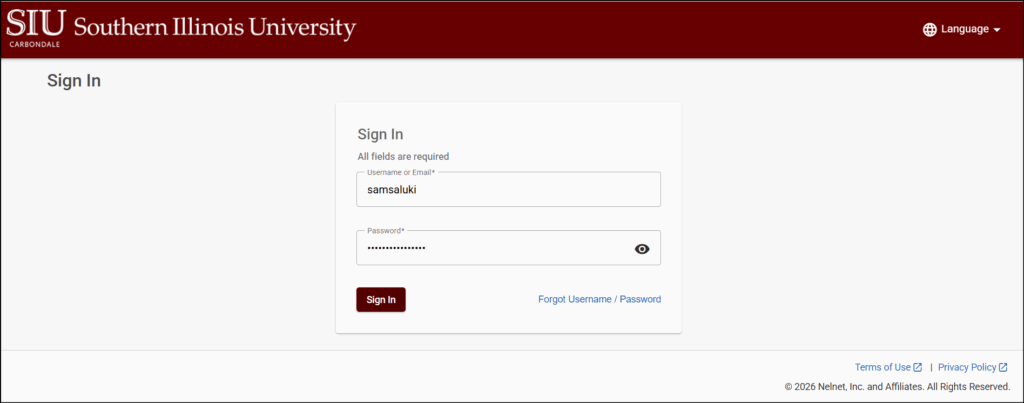
5. You will be redirected to the Proxy Sign In page. Enter your username and the password you set in the previous step.
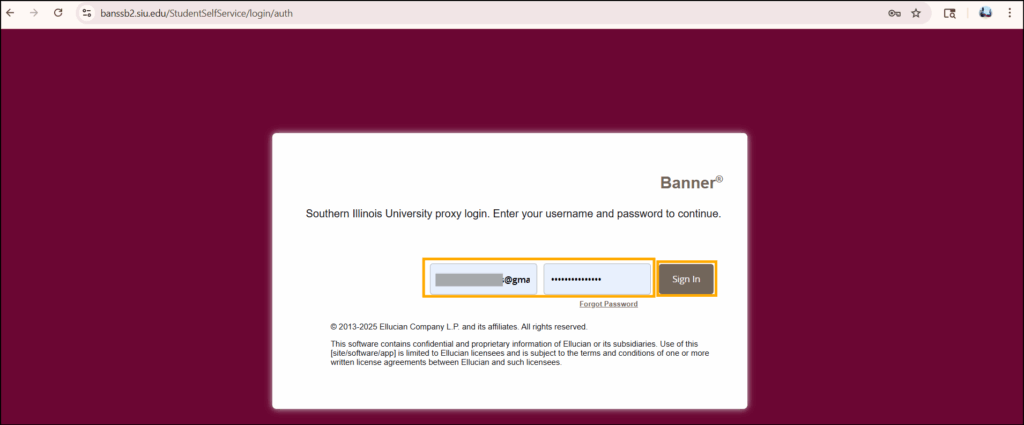
6. Click Sign In.
7. The first time you sign in, you’ll be prompted to add a recovery phone number, as well. Enter the 3-digit area code and then the rest of your phone number.
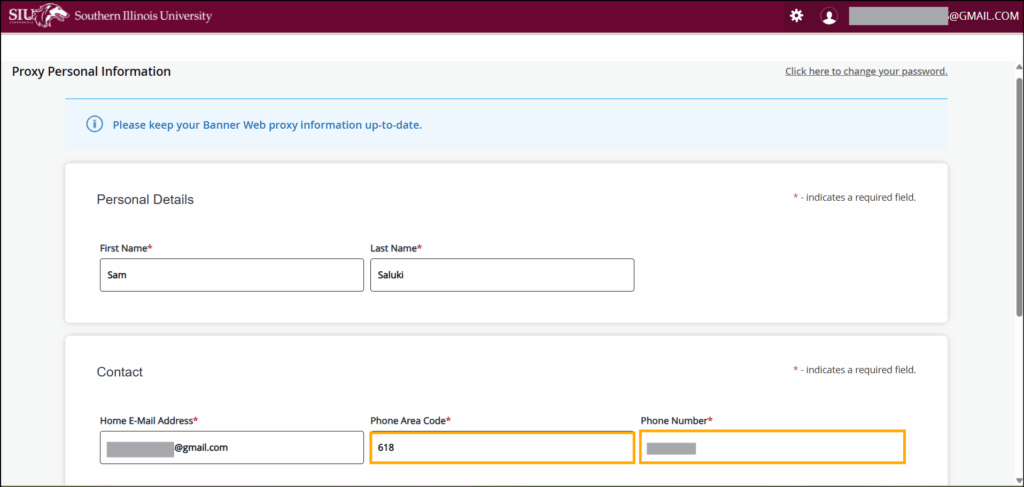
8. Scroll down to the bottom of the page and click Submit.
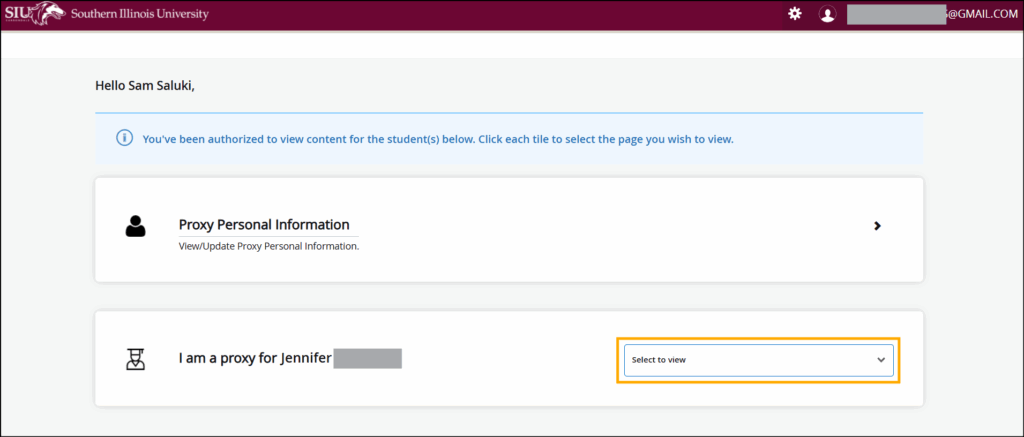
9. Initial proxy setup should now be complete. You will be redirected to the main proxy screen.
Note: if your student has also granted you Bursar access, there are additional setup steps. Please scroll down to the next section (Proxy Bursar Account Setup) to complete that setup process.
10. Click the drop-down menu to the right of your student’s name to view the information they have granted you access to.
Proxy Bursar Setup
To view Bursar-related information or make payments as a proxy, your student must first grant you Bursar Account Access. Instructions for students on how to do this can be found here.
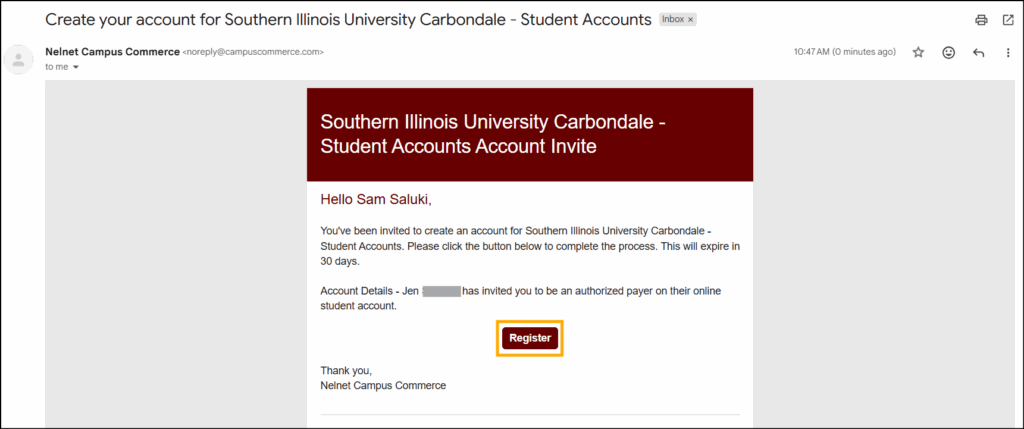
Once you have set up your Proxy Account and your student has granted Bursar access, you will receive an email from Nelnet Campus Commerce. This email will include a link to register your account. Follow the steps below to complete the registration process.
1. Click the Register link in the email from Nelnet. Note: If you did not receive an email, please have the student confirm they entered your email address correctly; there may be a typo or the wrong email address was used.
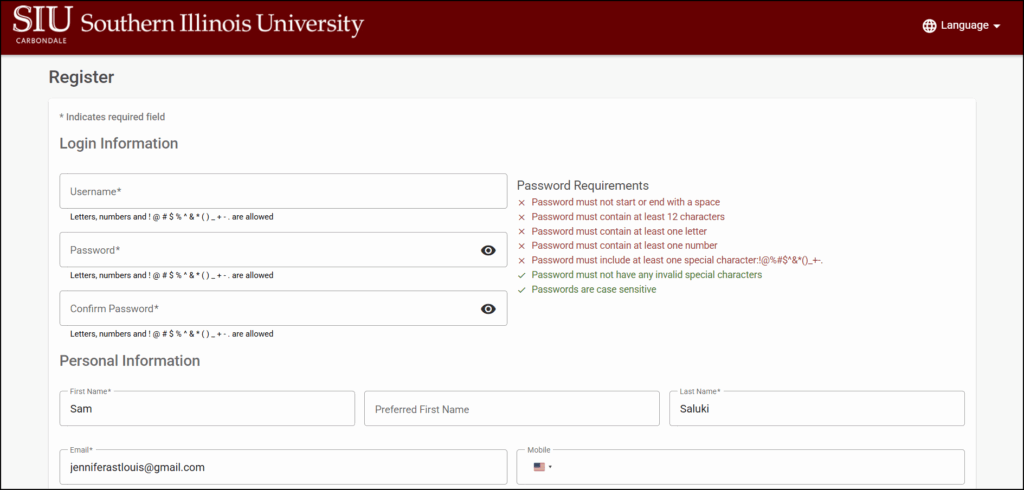
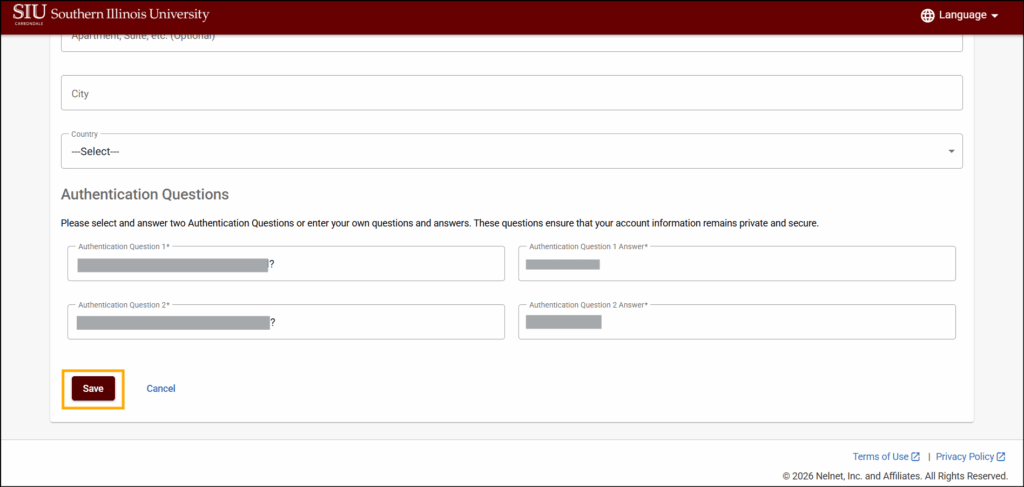
2. You will be brought to a Registration page. Complete the required fields. Note: The phone number and address fields are not required. Only the username, password, and Authentication/Security questions.
3. Once you have entered all the required information, click the maroon Save button in the bottom left-corner of the screen. Note: If the button is gray, at least one required field is incomplete.
4. You will be redirected to a sign-in screen. The first time that you sign in, you will be prompted to setup Multi-Factor Authentication. Note: This works much like the security codes banks and other institutions send to verify your identity when you log in. Once you complete this setup, you won’t need to repeat these steps in the future.
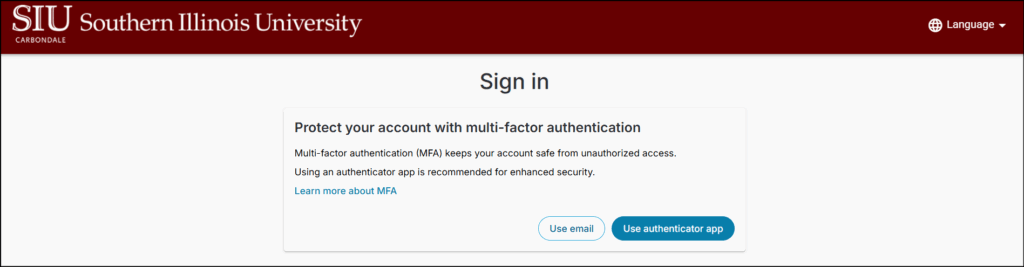
5. Choose the authentication option you would like to setup.
- Email: A code will be sent to your email address. (Step 6a)
- Authenticator App: using the authenticator app of your choice, setup your mobile device to receive a code. (Step 6b)
6a. Email Authentication Method
i. A unique Verification Code will be sent to the email address used for your proxy account setup.
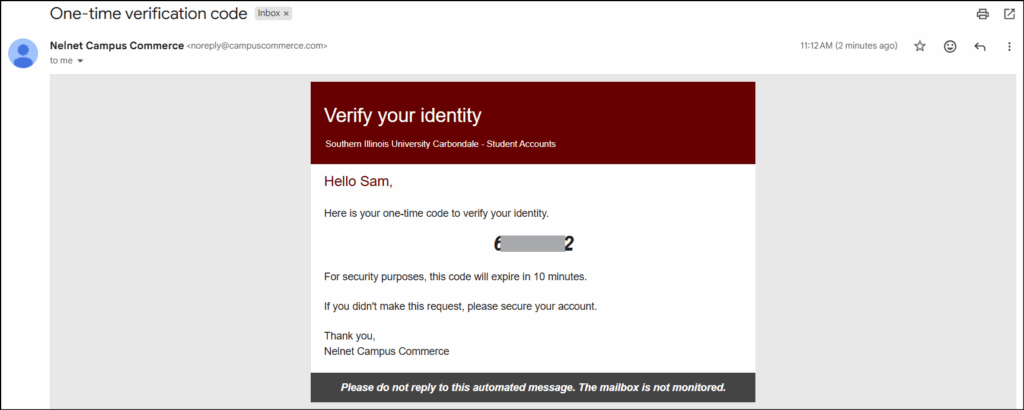
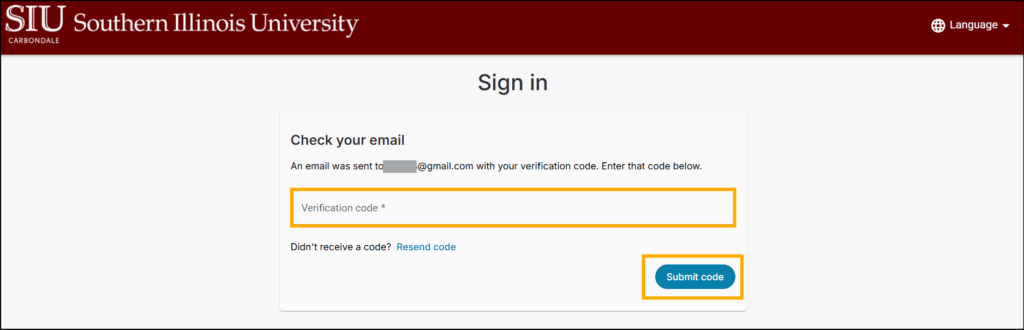
ii. Enter the unique code on the Bursar Authentication screen.
iii. Click Submit.
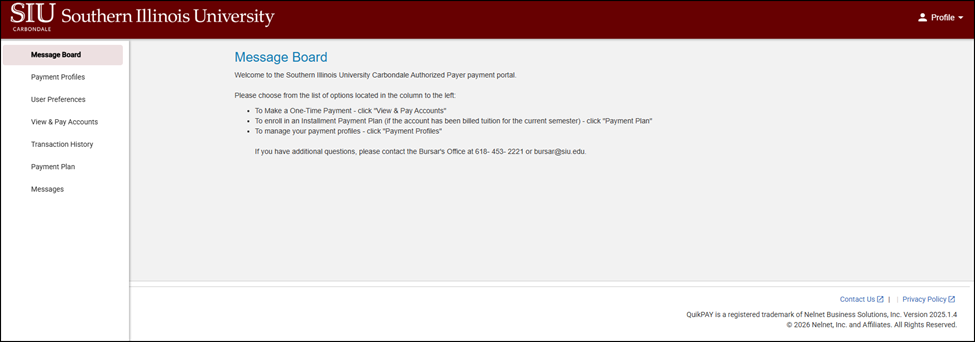
Setup is now complete! You will be redirected to the main Bursar Portal homepage.
6b. Authenticator App Method
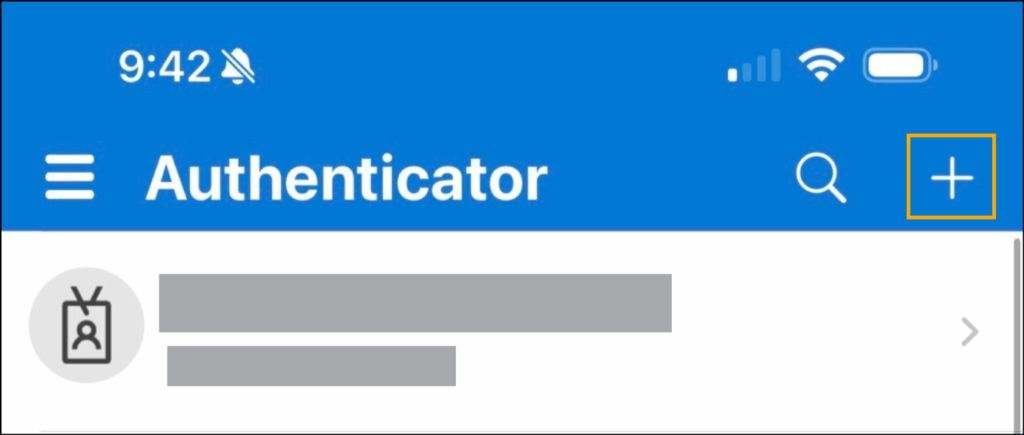
i. You will be brought to an Authenticator setup screen. Open the Authenticator app of your choice.
Note: The screenshots below feature Microsoft Authenticator, but the steps should be very similar when using other authentication apps.
ii. Add New Account.
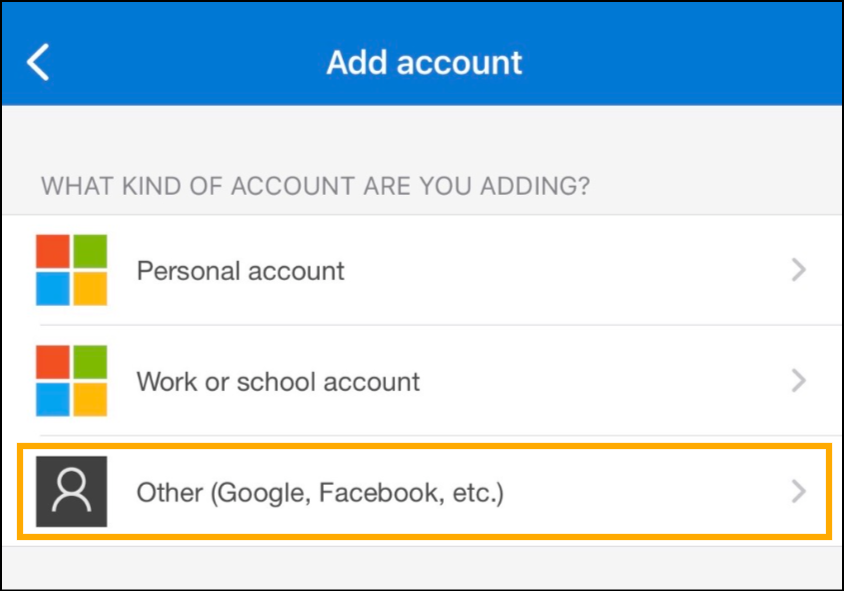
iii. If prompted for an account type, select Other.
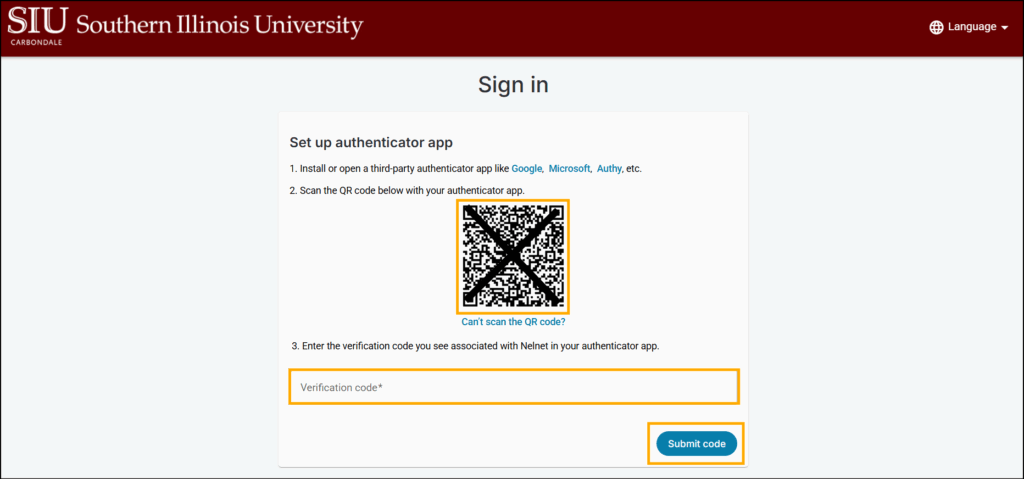
iv. Scan the QR code provided on the Bursar authenticator screen.
v. Your app should now generate a code for the account. Enter the code in the corresponding field on the Bursar Authenticator page.
vi. Click Submit code.
Setup is now complete! You will be redirected to the main Bursar Portal homepage.
Proxy Login Link
Once your account has been setup, you’ll be able to find and access the Proxy Portal through SalukiNet.
1. In your browser, go to salukinet.siu.edu
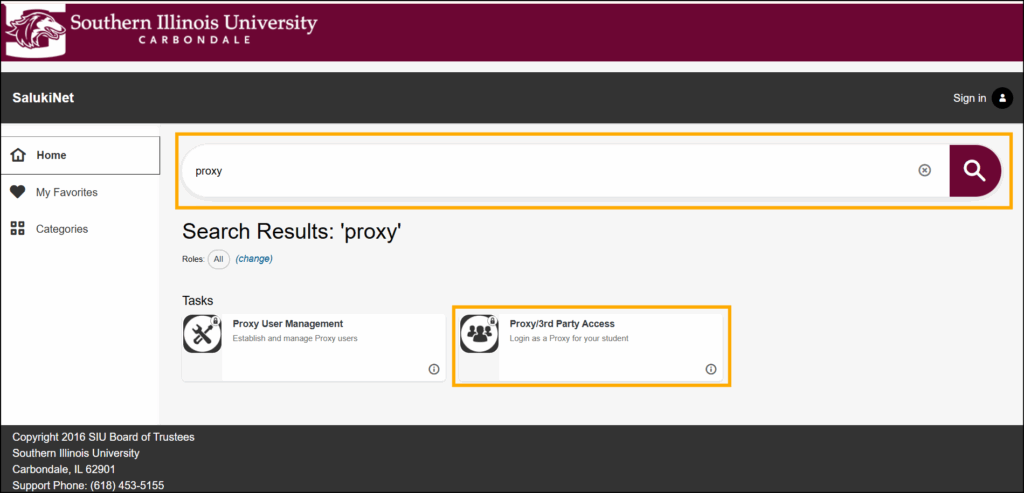
2. Type “proxy” in the large search bar at the top of the SalukiNet website.
3. Select the Proxy/3rd Party Access option. Note: If you are only wanting to make a bursar payment, scroll down to Step 5 instead.
4. Enter your username and password. Then, click Sign In.
5. If you also need to make a Bursar payment, return to the salukinet.siu.edu website in your browser.
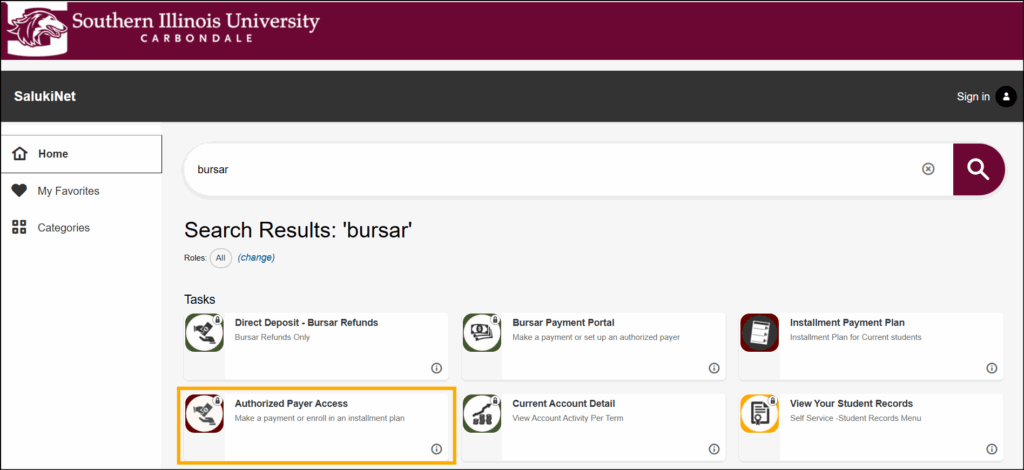
6. Type “Bursar” into the search bar at the top of the SalukiNet website.
7. Select Authorized Payer Access.
8. Enter your username and password. Then, click Sign In.